ZCorp Z310+: Difference between revisions
| Line 8: | Line 8: | ||
= Modifications = | = Modifications = | ||
'''NOTE: Almost all of these modifications will ''void your warranty''! Only use these modifications for research units. | |||
''' | |||
3D printable modifications are available on my [https://github.com/ezrec/zcorp-mods https://github.com/ezrec/zcorp-mods] GitHub repository. | 3D printable modifications are available on my [https://github.com/ezrec/zcorp-mods https://github.com/ezrec/zcorp-mods] GitHub repository. | ||
Revision as of 16:11, 10 February 2016
What is it?
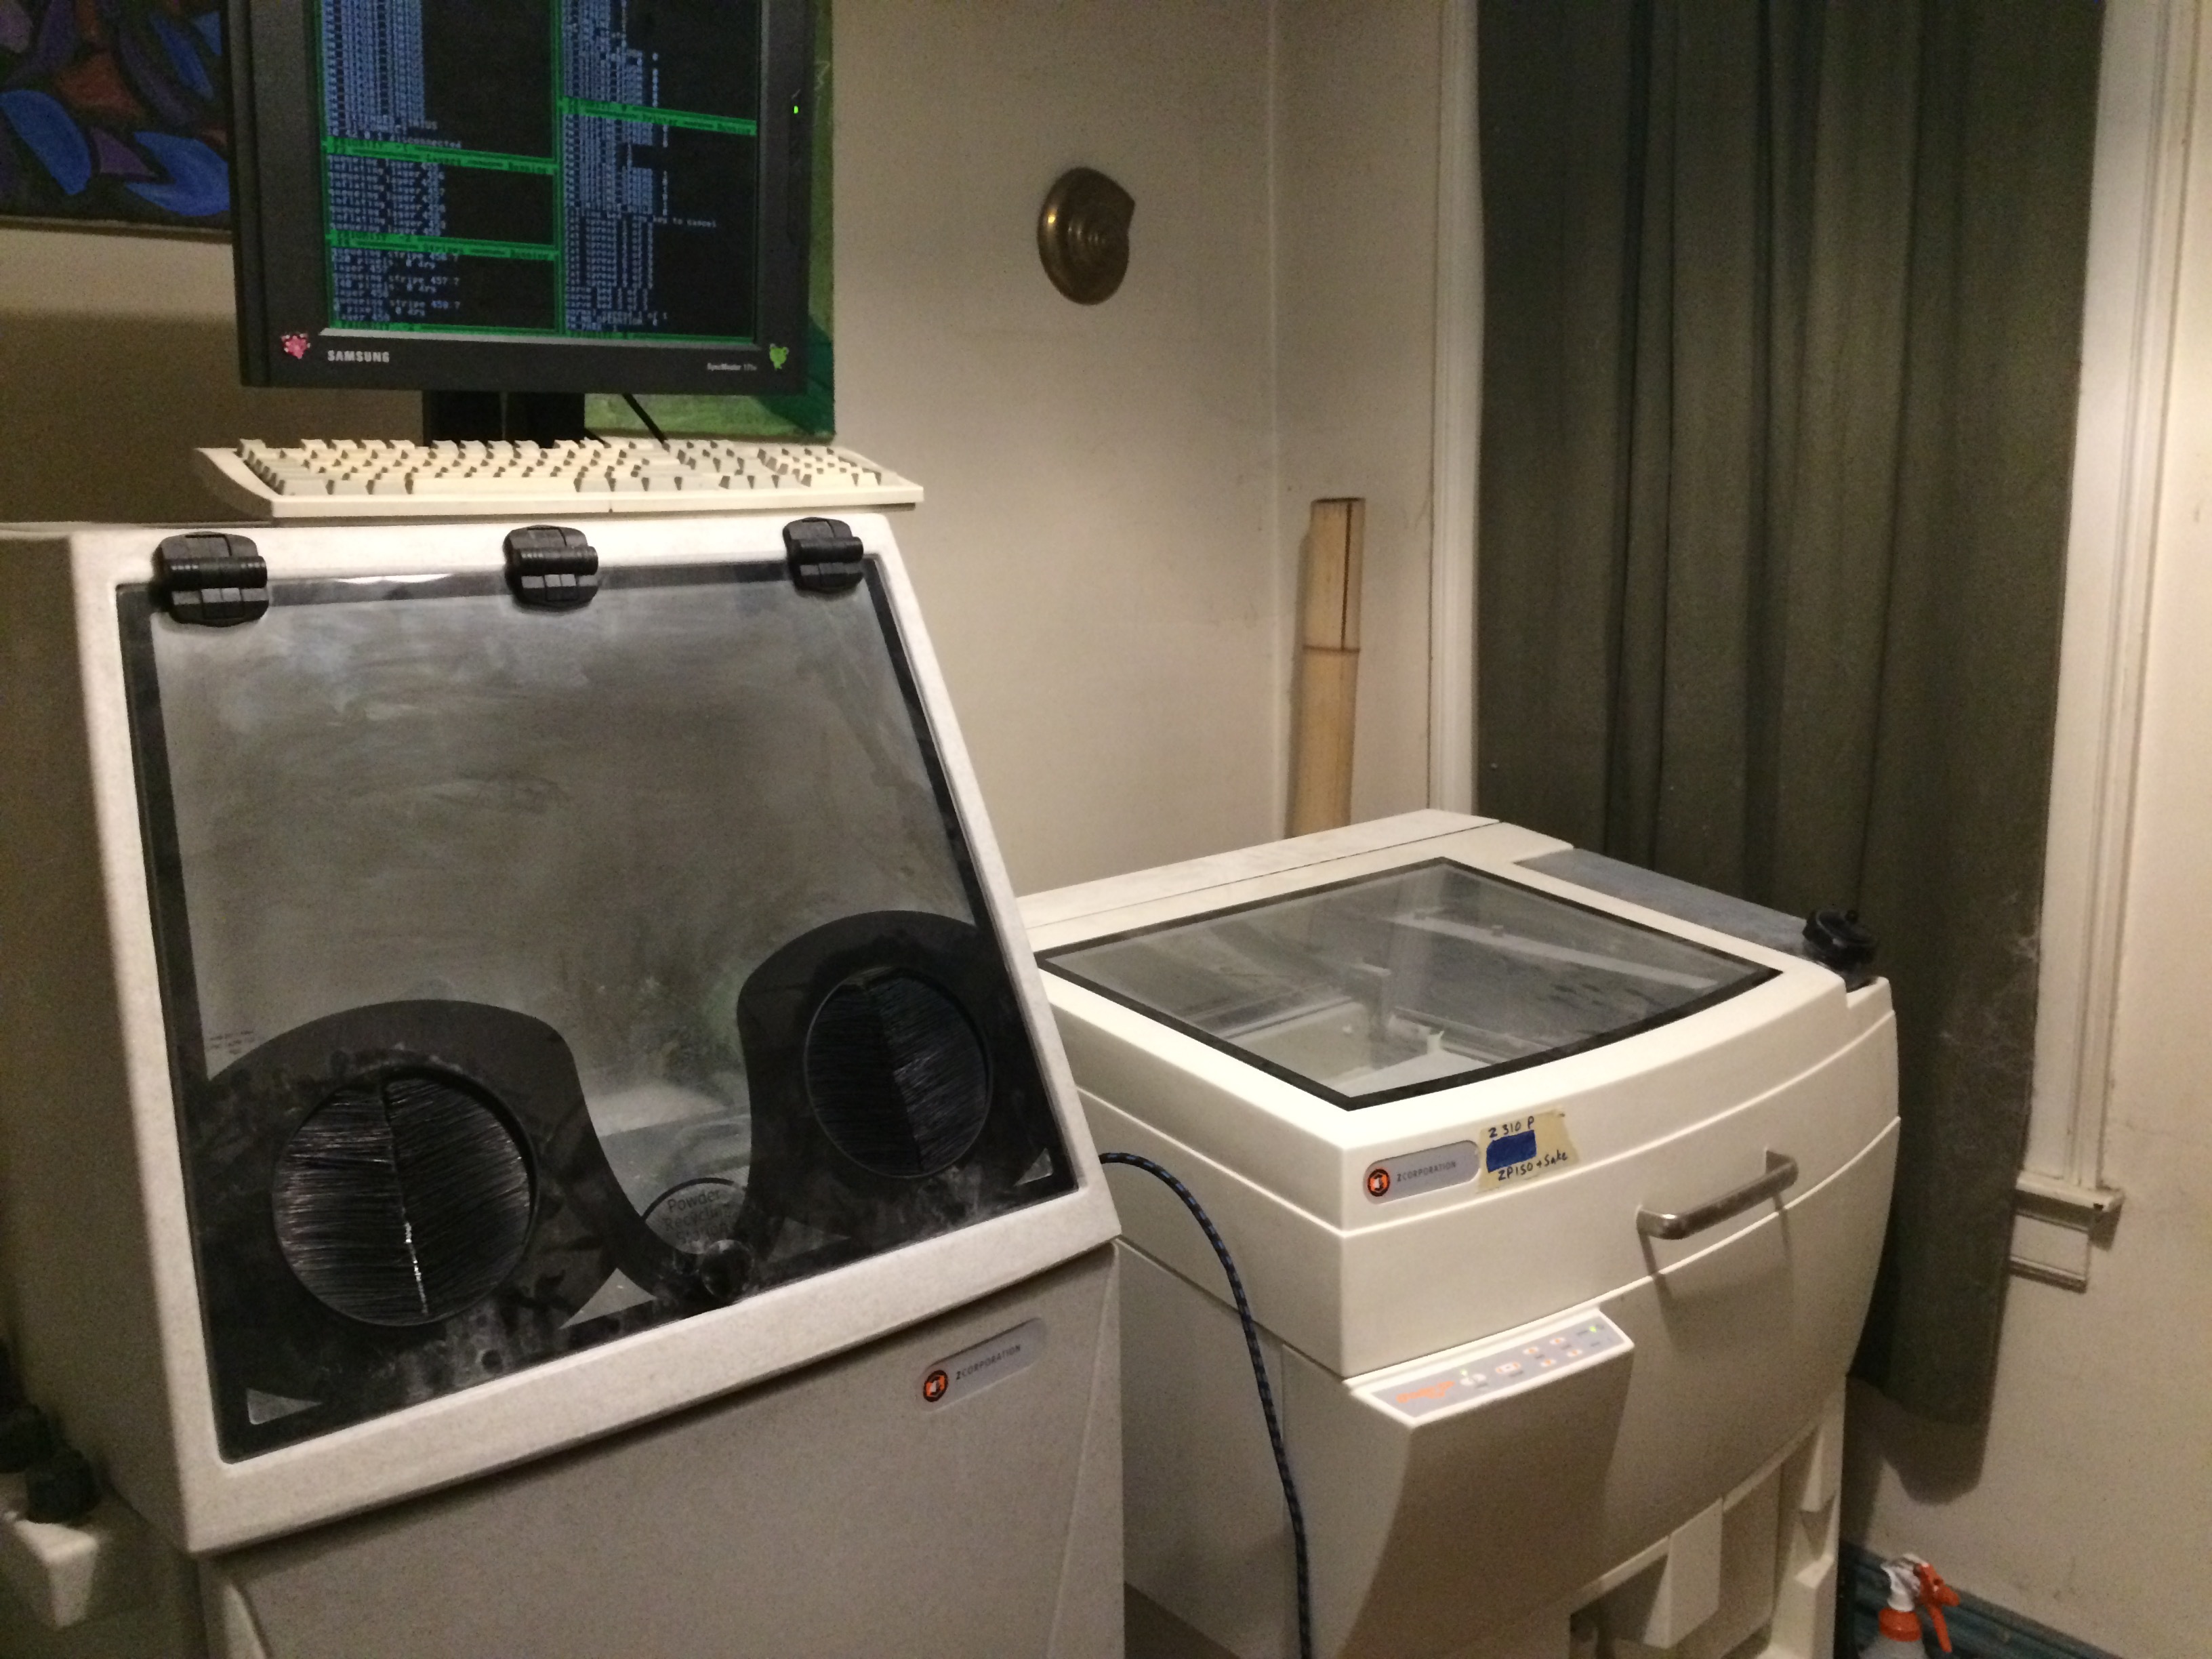
The ZCorp Z310+ is a powder bed printer, designed to run a plaster powder and a water based binder through HP10 printheads.
-
Z310+ printer and depowdering station
Modifications
NOTE: Almost all of these modifications will void your warranty! Only use these modifications for research units.
3D printable modifications are available on my https://github.com/ezrec/zcorp-mods GitHub repository.
Fast Axis Powder Sealing
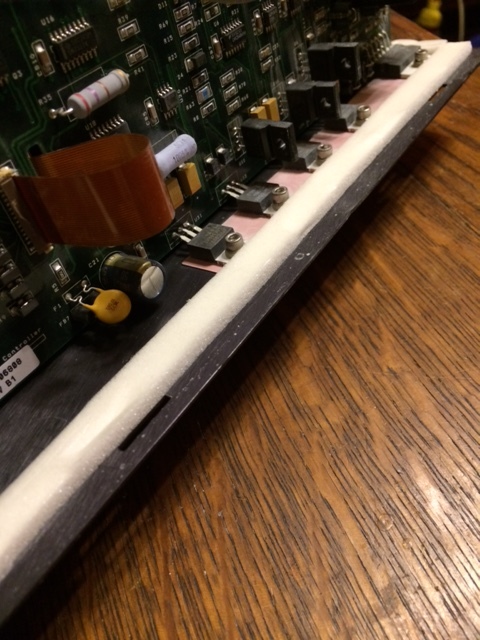
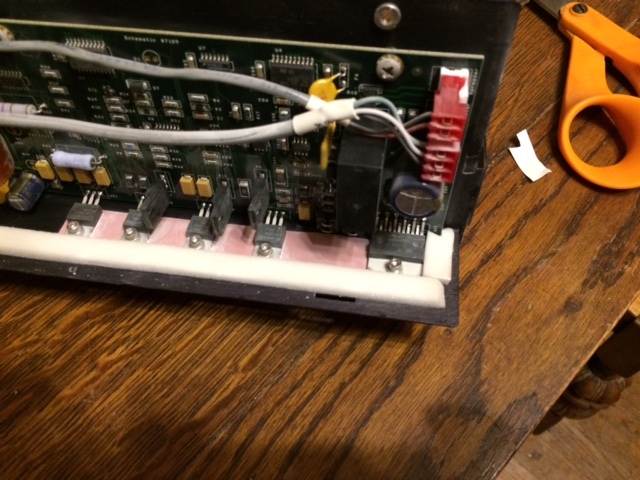
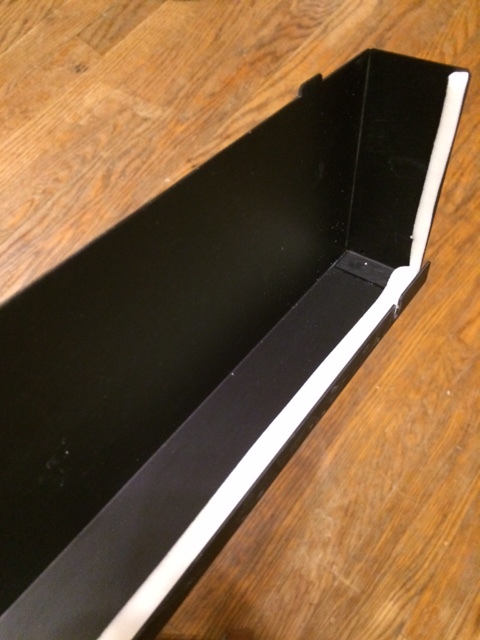
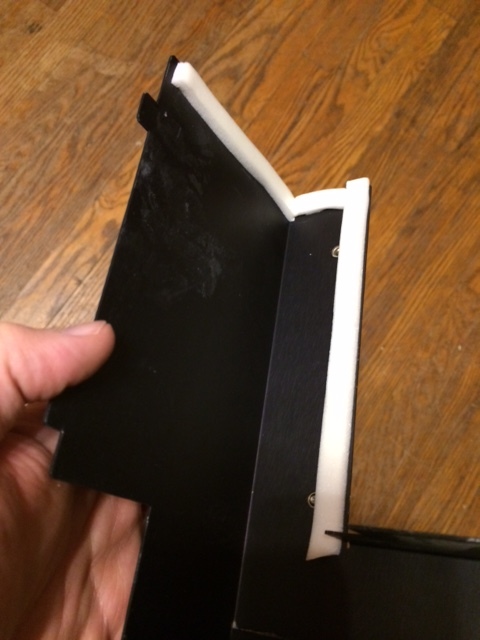
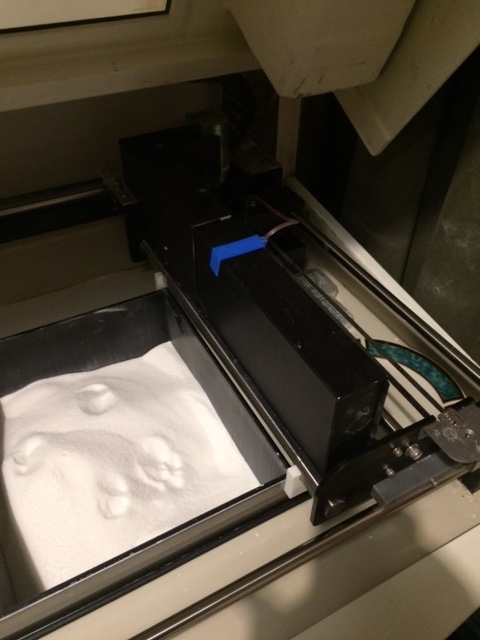
The fast axis electronics box can get quite dusty. With some single-sided self-sticking compressible foam insulation tape (used for weatherproofing windows), you can easily reduce the amount of dust in the electronics box.
- Remove the metal shrouds on the fast axis electronics box.
- Using compressed air, blow out any existing dust in the electronics box.
- DO NOT VACUUM - the act of vacuuming can cause ESD damage to the electronics!
- Wash and dry the metal shrouds.
- Apply single-sided self-sticking compressible foam insulation tape, as per the gallery images below.
- Reassemble the fast axis electronics shrouds.
-
View of foam tape of the electronics box
-
Alternate view
-
Tape, as applied to the front shroud.
-
Tape, as applied to the rear shroud.
-
Assembled and cleaned shrouds.
Head-Change Drip Plate
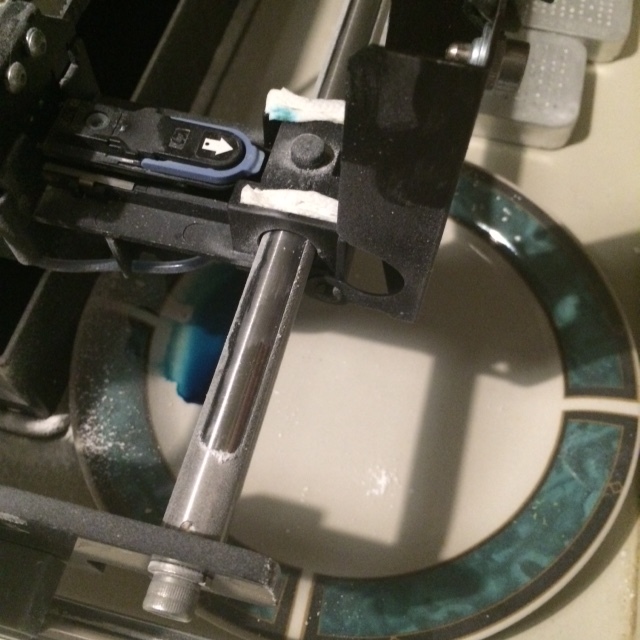
This is a very easy mod - just put a saucer under the 'change head' location on the bed, to catch any binder drips when you are changing the head, or purging the binder lines.
-
A small saucer to catch binder drips.
ZD5 Depowdering Station: Vortex Dust Collector
The ZD5 Depowdering station uses a bag vacuum in its base to collect the powder cleared from the station. As the bag fills with pwoder, the ZD5 vacuum loses suction over time.
Removal of the bag and cleaning the powder out of it for recycling is dusty and messy. This modification reduces bag change intervals significantly, and makes it much easier to recycle the powder.
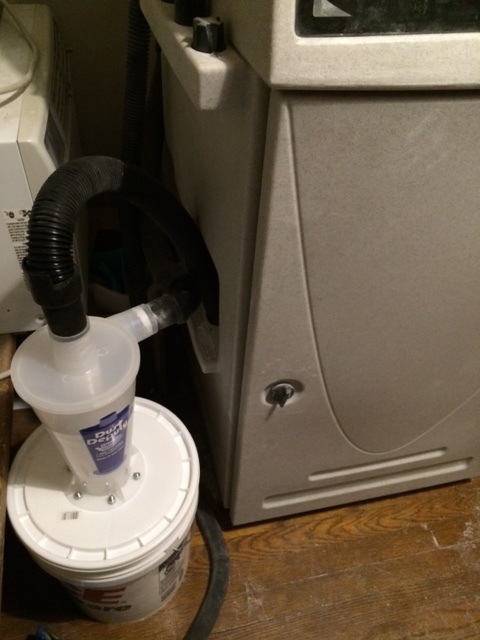
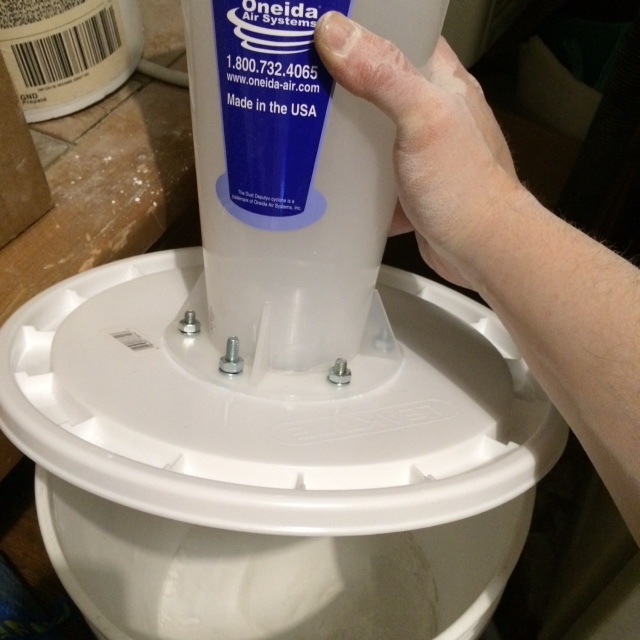
A number of vendors sell DIY vortex dust collection systems for wood shops, and these work very well in combination with the ZD5's powerful vacuum. The one in the example is a DIY kit from Oneida Air Systems, purchased from a local hardware store for $50 USD.
Assemble the vortex collector as directed by the manufacturer, and place in-line with the ZD5 depowdering station's vacuum hoses. Only about 5%-10% of the powder ends up in the vacuum bag, extending the amount of time between bag changes - the bulk of the powder will end up in the vortex collector's bucket, easily removed, sifted, and recycled.
-
ZD5 with a vortex dust collector attached.
-
Dust ends up in the bucket - not in the bag!
Materials
Sake + ZP-150
Currently, I am running Sake (uncolored) and ZP-150 plaster powder, at 0.1mm layers.
The sake I use tends to run a little 'dry', so I've upped the saturation on my powder profile to 115%.
Sake + Sugar/Meringue Powder
Sake: Color and Flavor Additives
Small amounts of colors and flavors can be added to the sake binder, but don't overdo it.
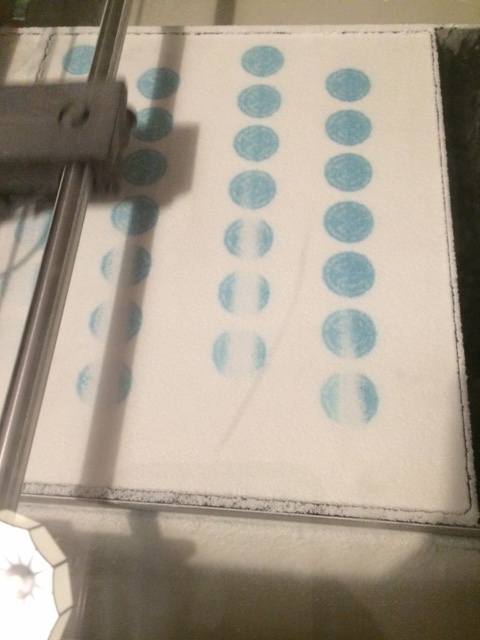
If the physical properties (viscosity and surface tension) are altered too much, the nozzle flow rate will be too low, and you can risk burning out the printhead.
Adjust your binder mixture slowly, until you see streaking, then add plain sake to dilute it back to a workable mixture.
-
In this example, too much flavoring (orange extract) was added, leading to the streaking observed.
-
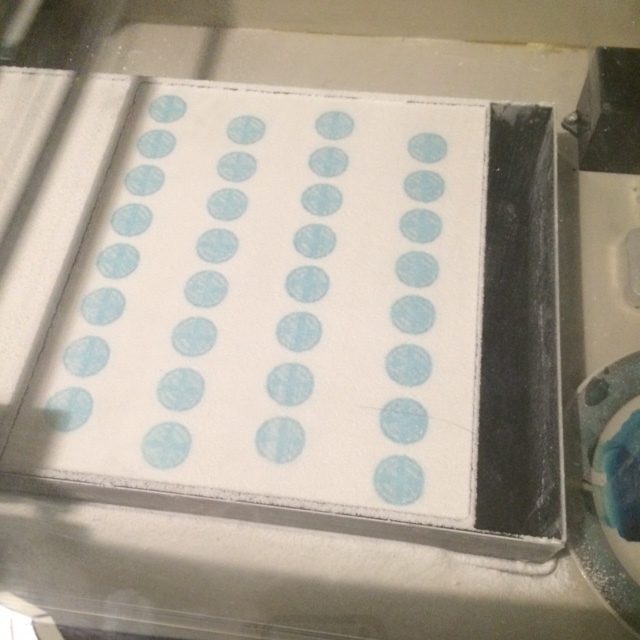
Diluting the binder with more sake resolved the issue.
Base Powder
Experimental powder, using the following recipe:
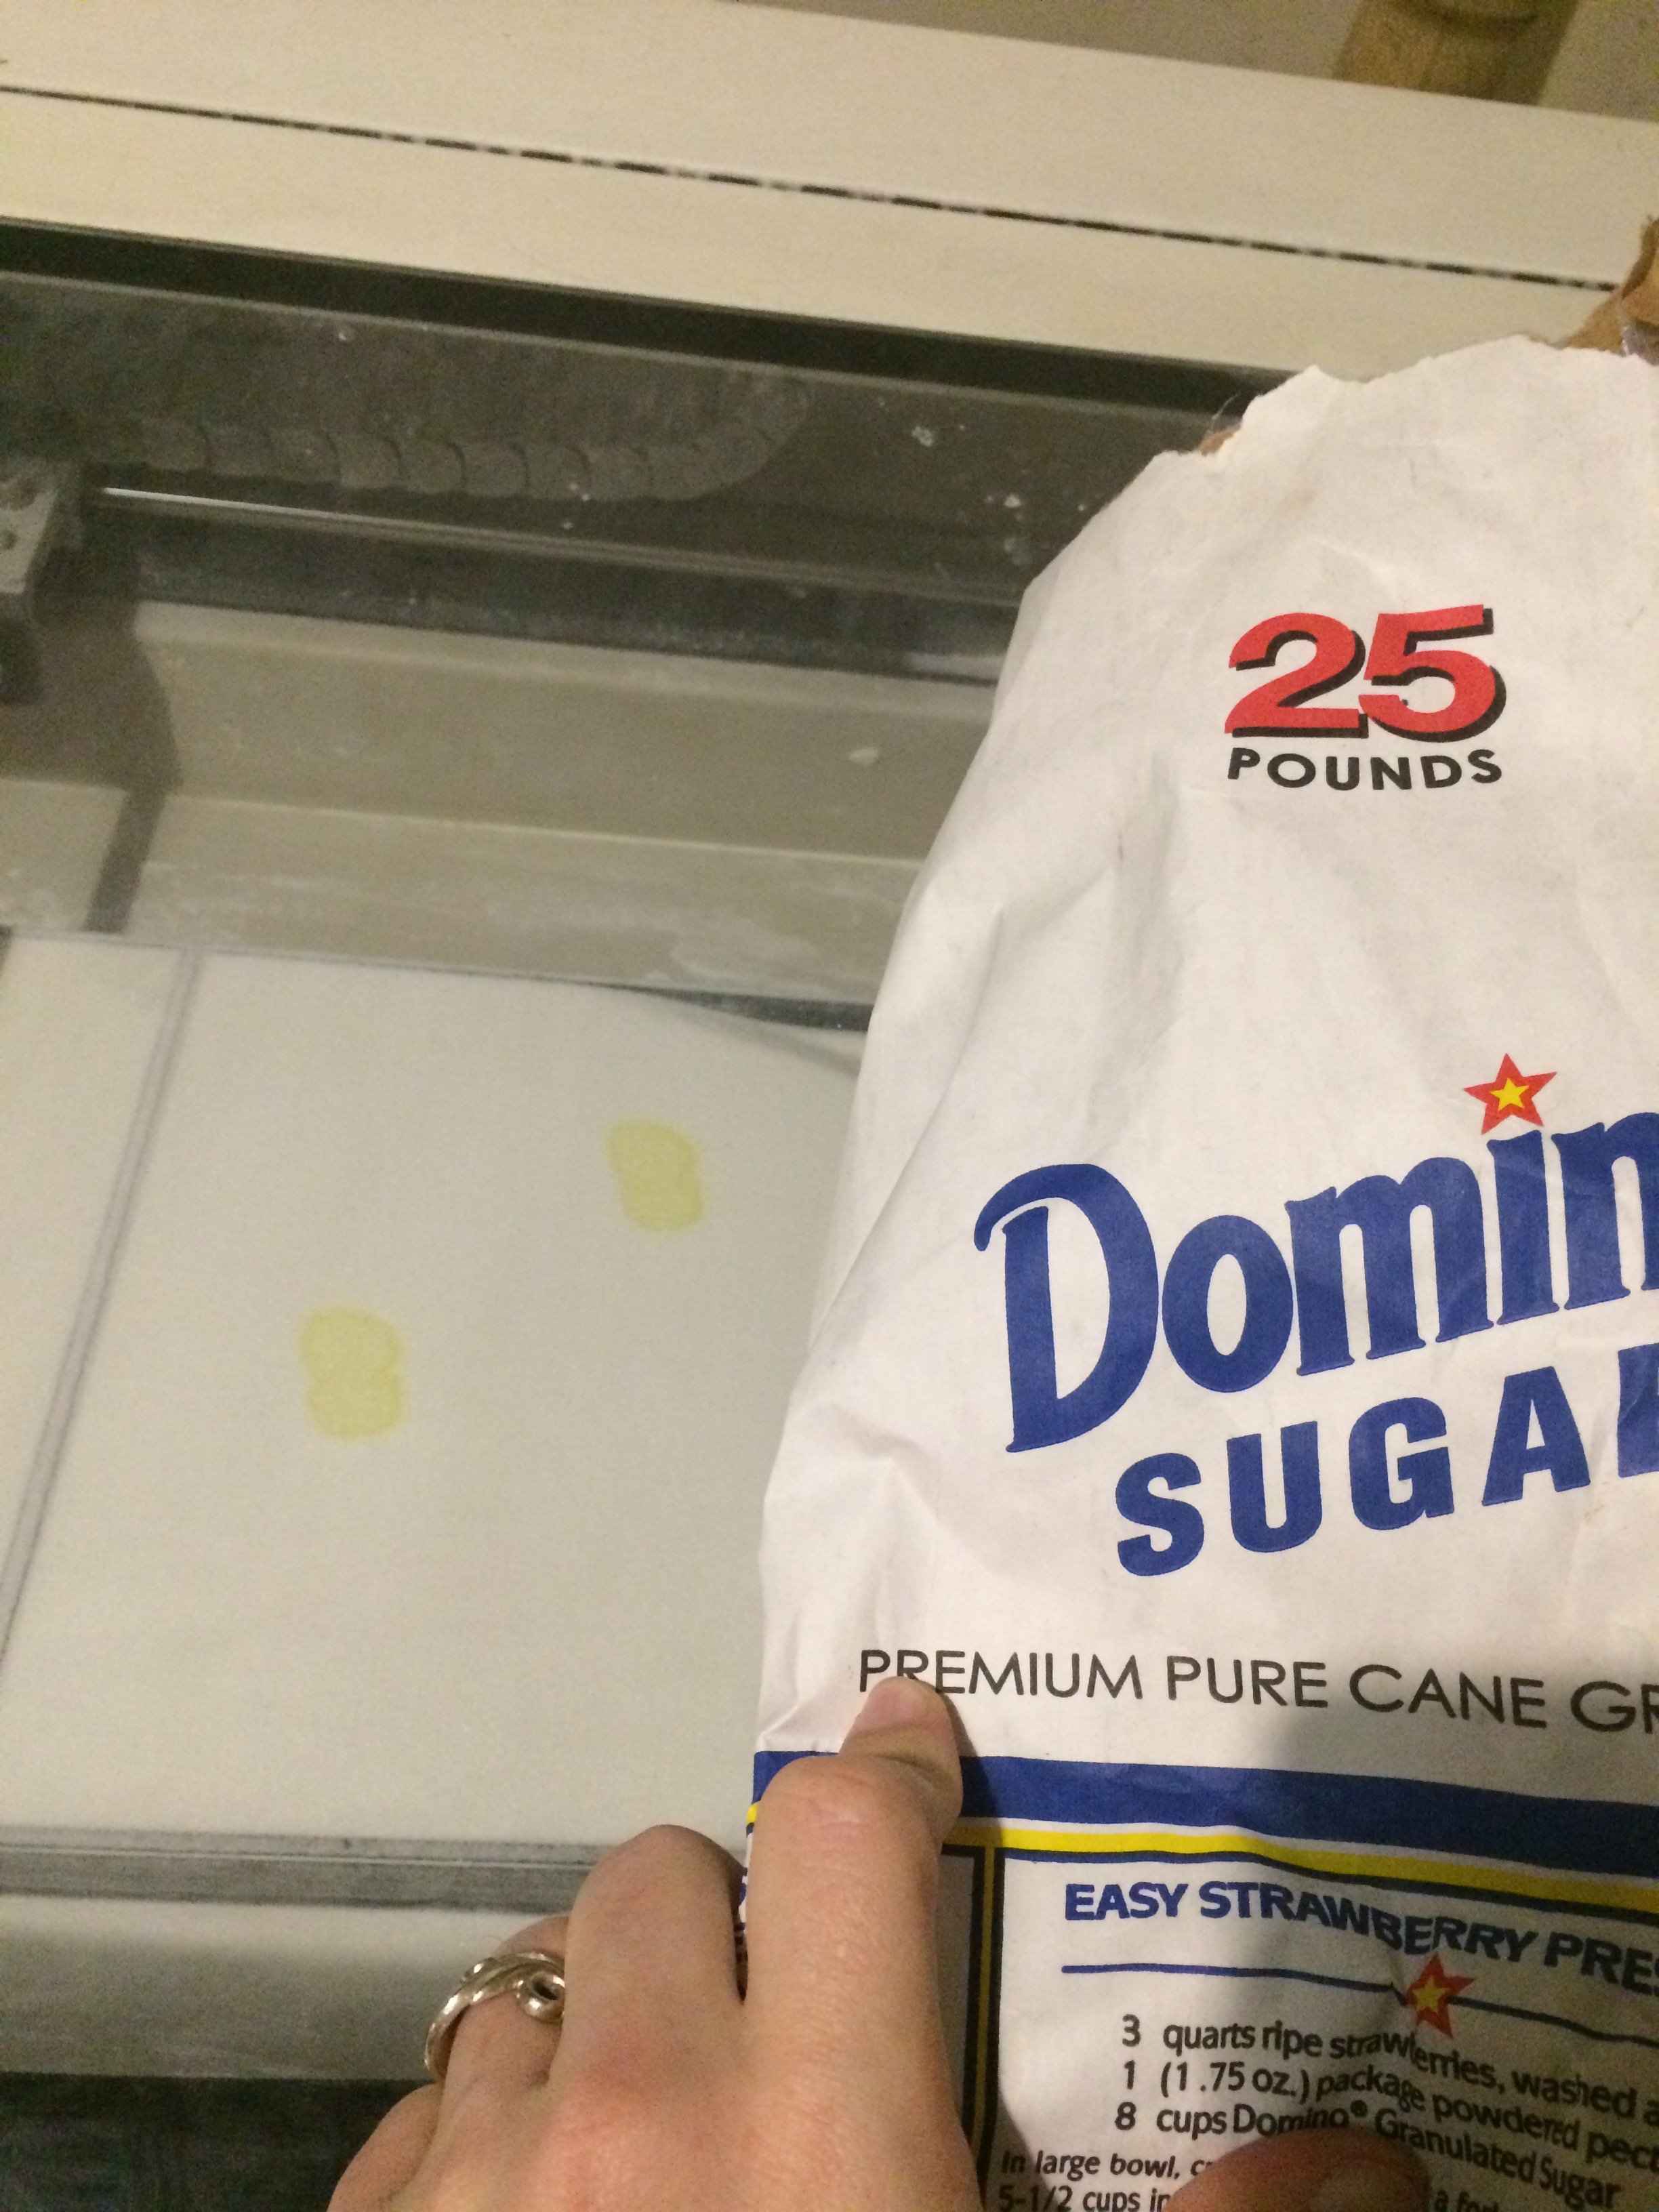
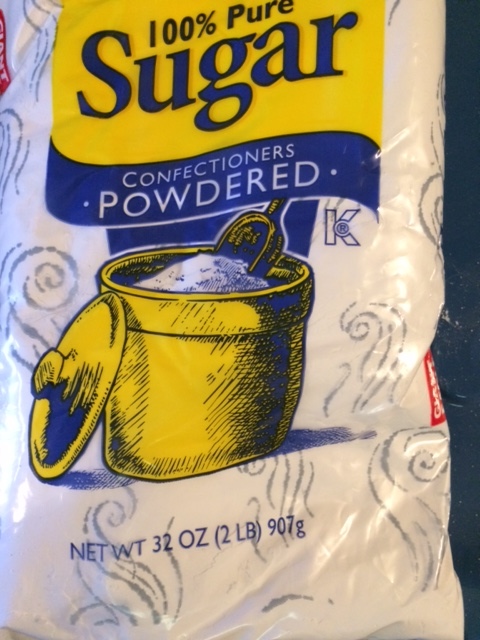
- Granulated sugar, 25lb
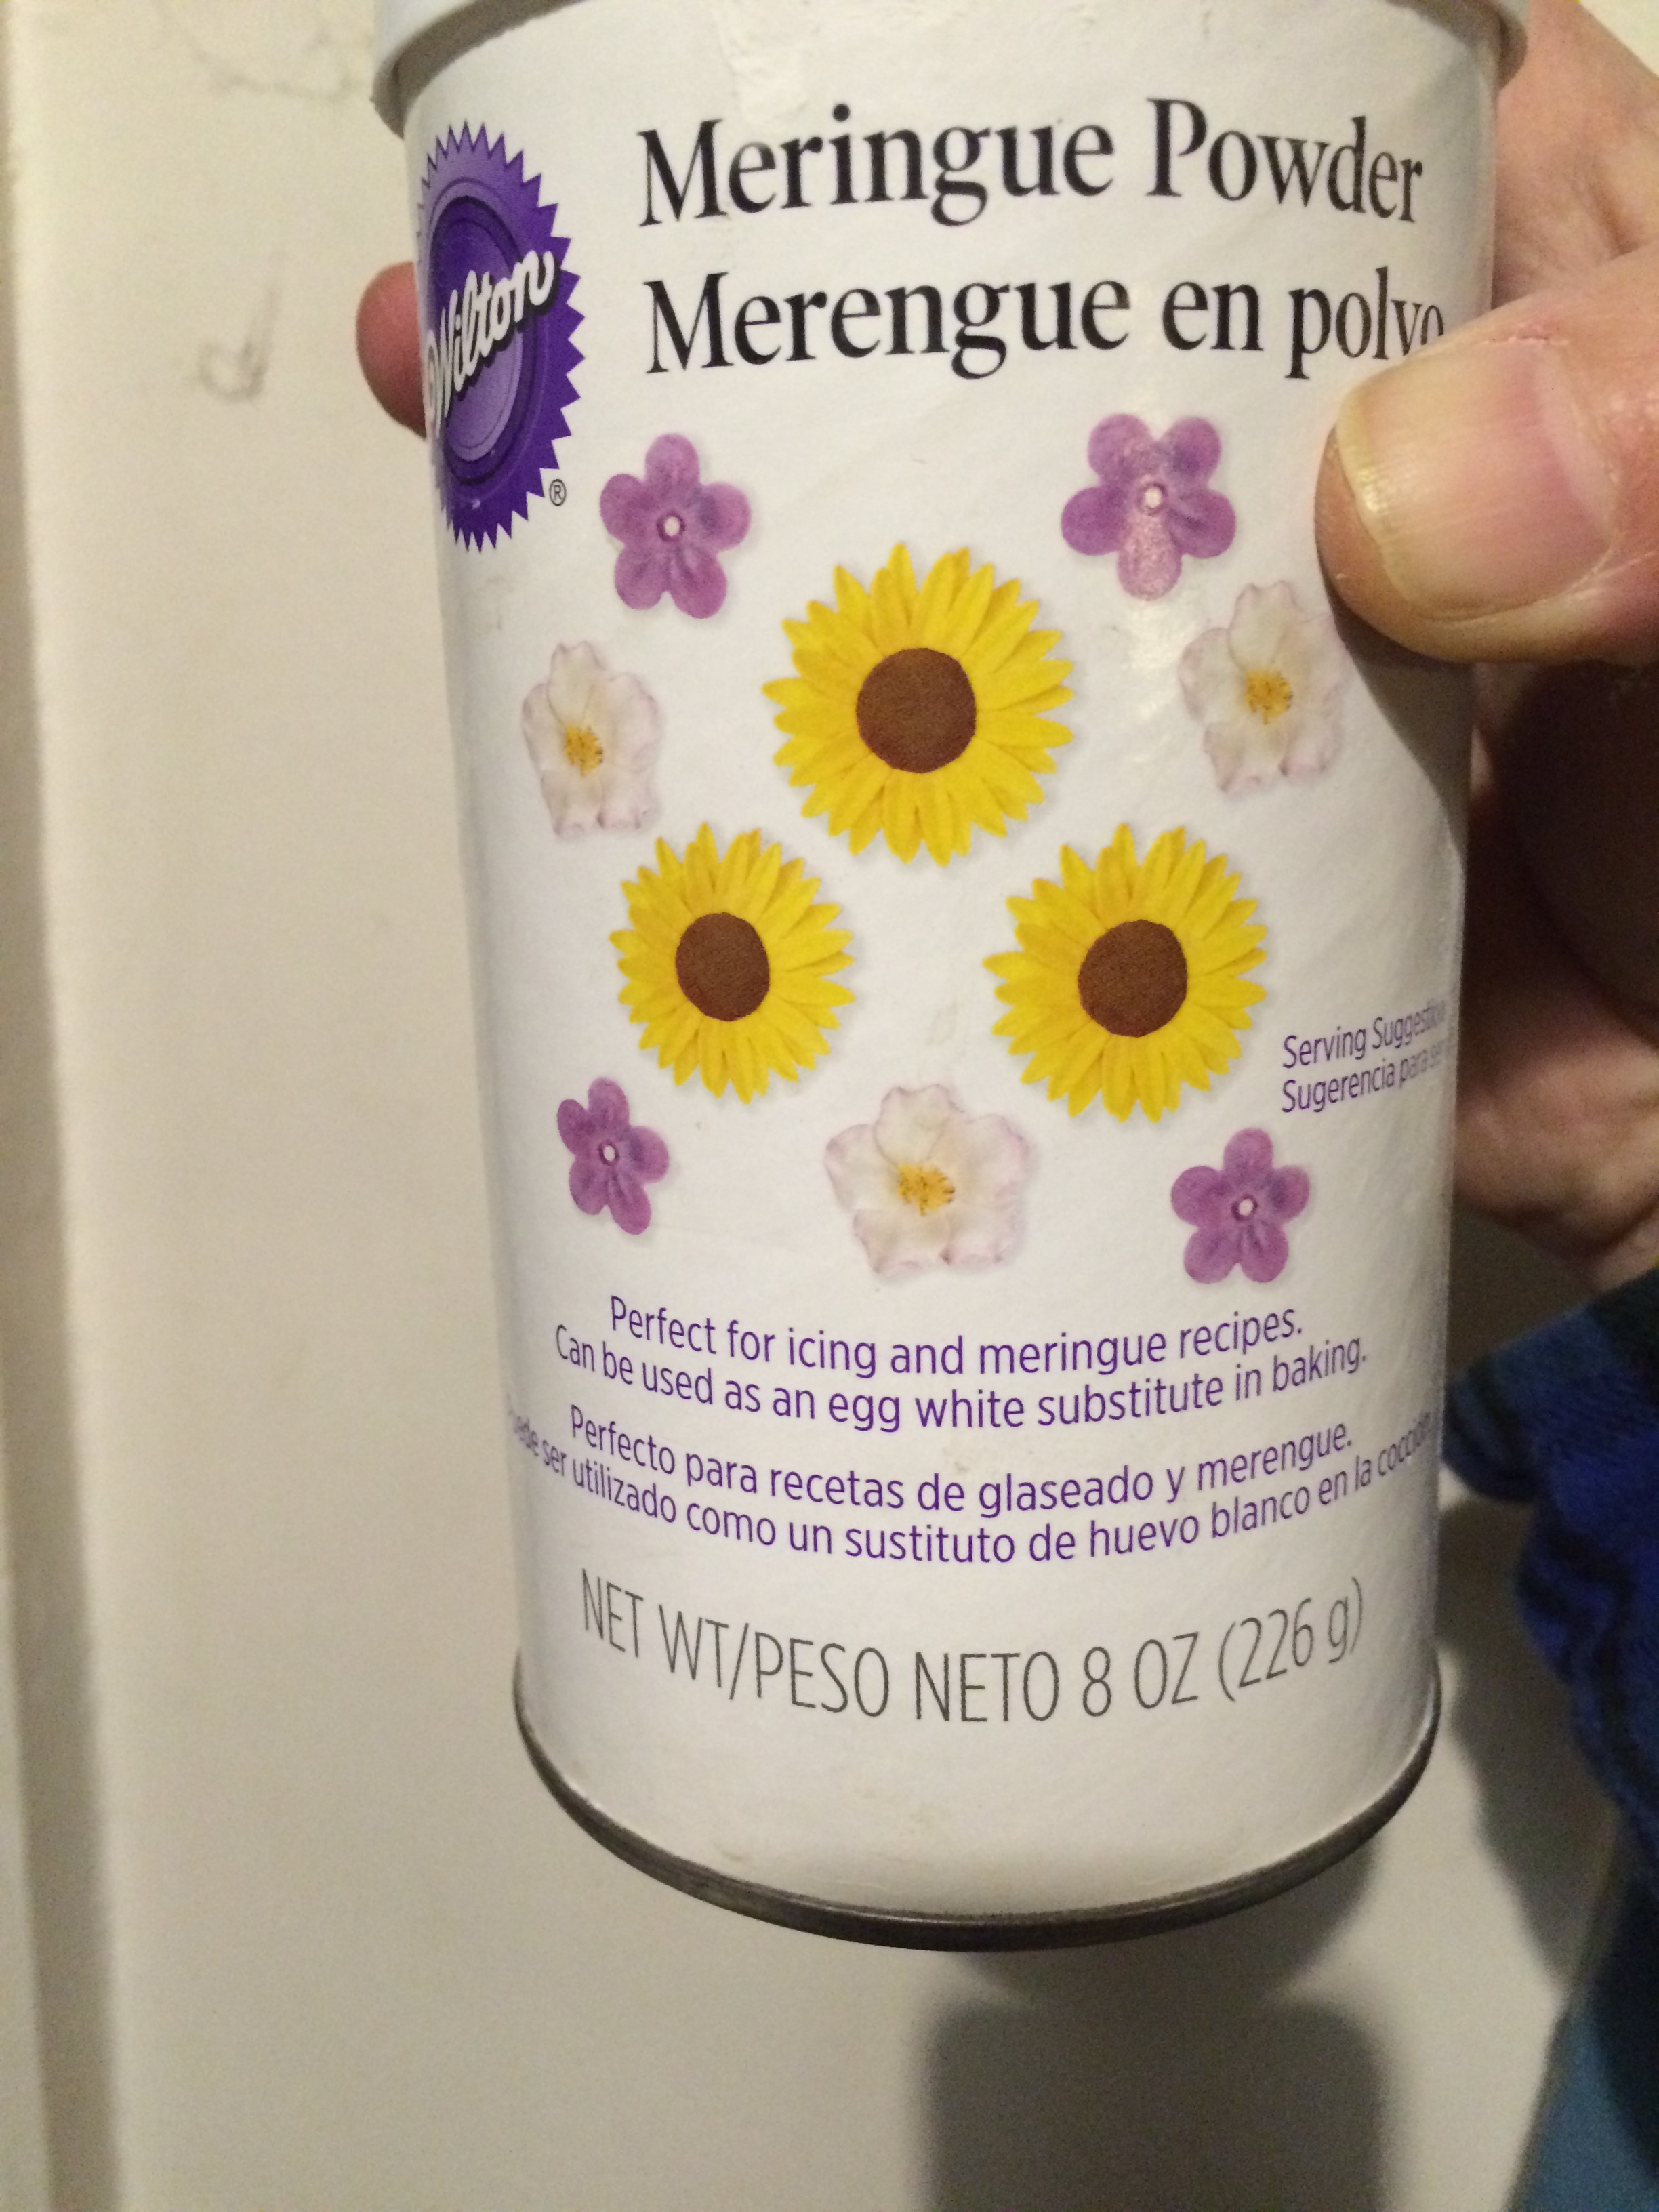
- Wilton's Meringue Powder, 8oz
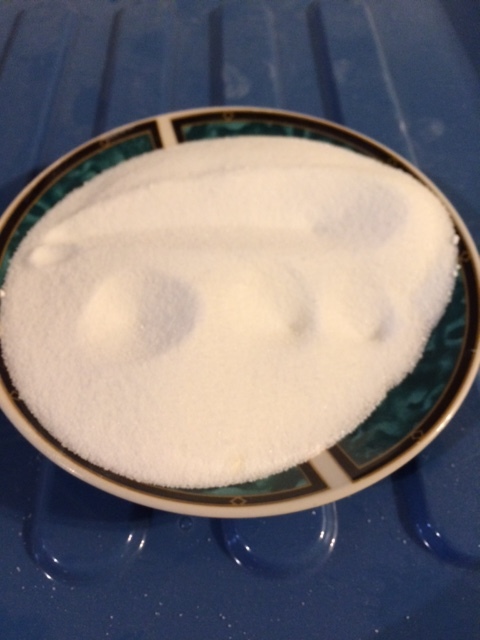
Mix together, then pulse in a food processors (about 1lb at a time, or however much your food processor will hold) for approx 120 seconds total, until the powder is at a fine grain consistency.
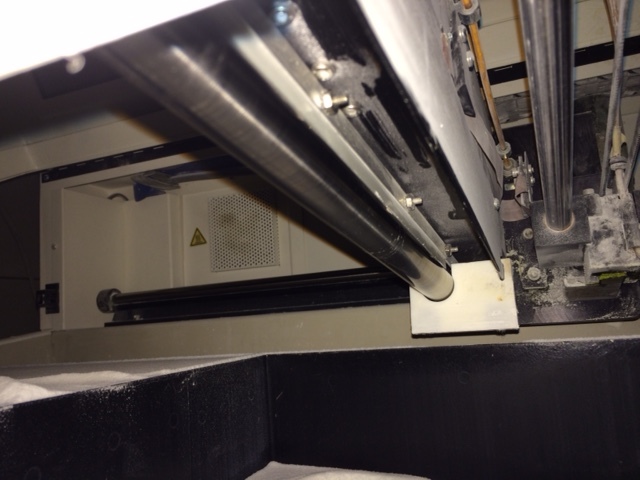
- Remove the scraper blade from the roller portion of the fast-axis assembly.
- Derive a new powder in ZPrint from the ZP-15E base powder
- Set saturation to 100% for shell and core.
- Print at 0.2mm per layer.
- Cure 'in bed' for at least 8 hours.
Make sure to *thoroughly* clean the roller after each print - it can get very sticky otherwise.
I highly recommend adding a dye to your binder (food coloring works well) so that it easier to determine where the surface boundaries are when depowdering.
NOTE: The ZCorp 310+ is _not_ a food-safe device, and the printed results are not edible.
.. but they sure look cool, and sugar is a heck of a lot cheaper than ZP-150.
-
25lb of sugar - $20 USD
-
8oz of meringue powder - $10 USD
-
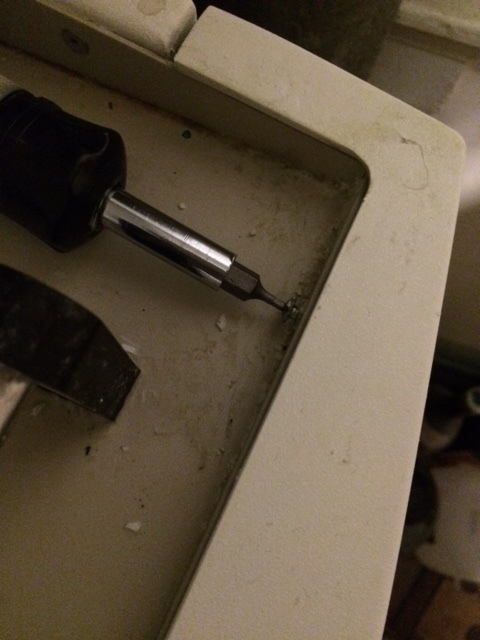
Location of the scraper blade - 3 hex bolts hold it in - 2 in rear of slow axis, 1 in front.
-
Base sugar powder consistiency
-
Printing out sugar skulls
-
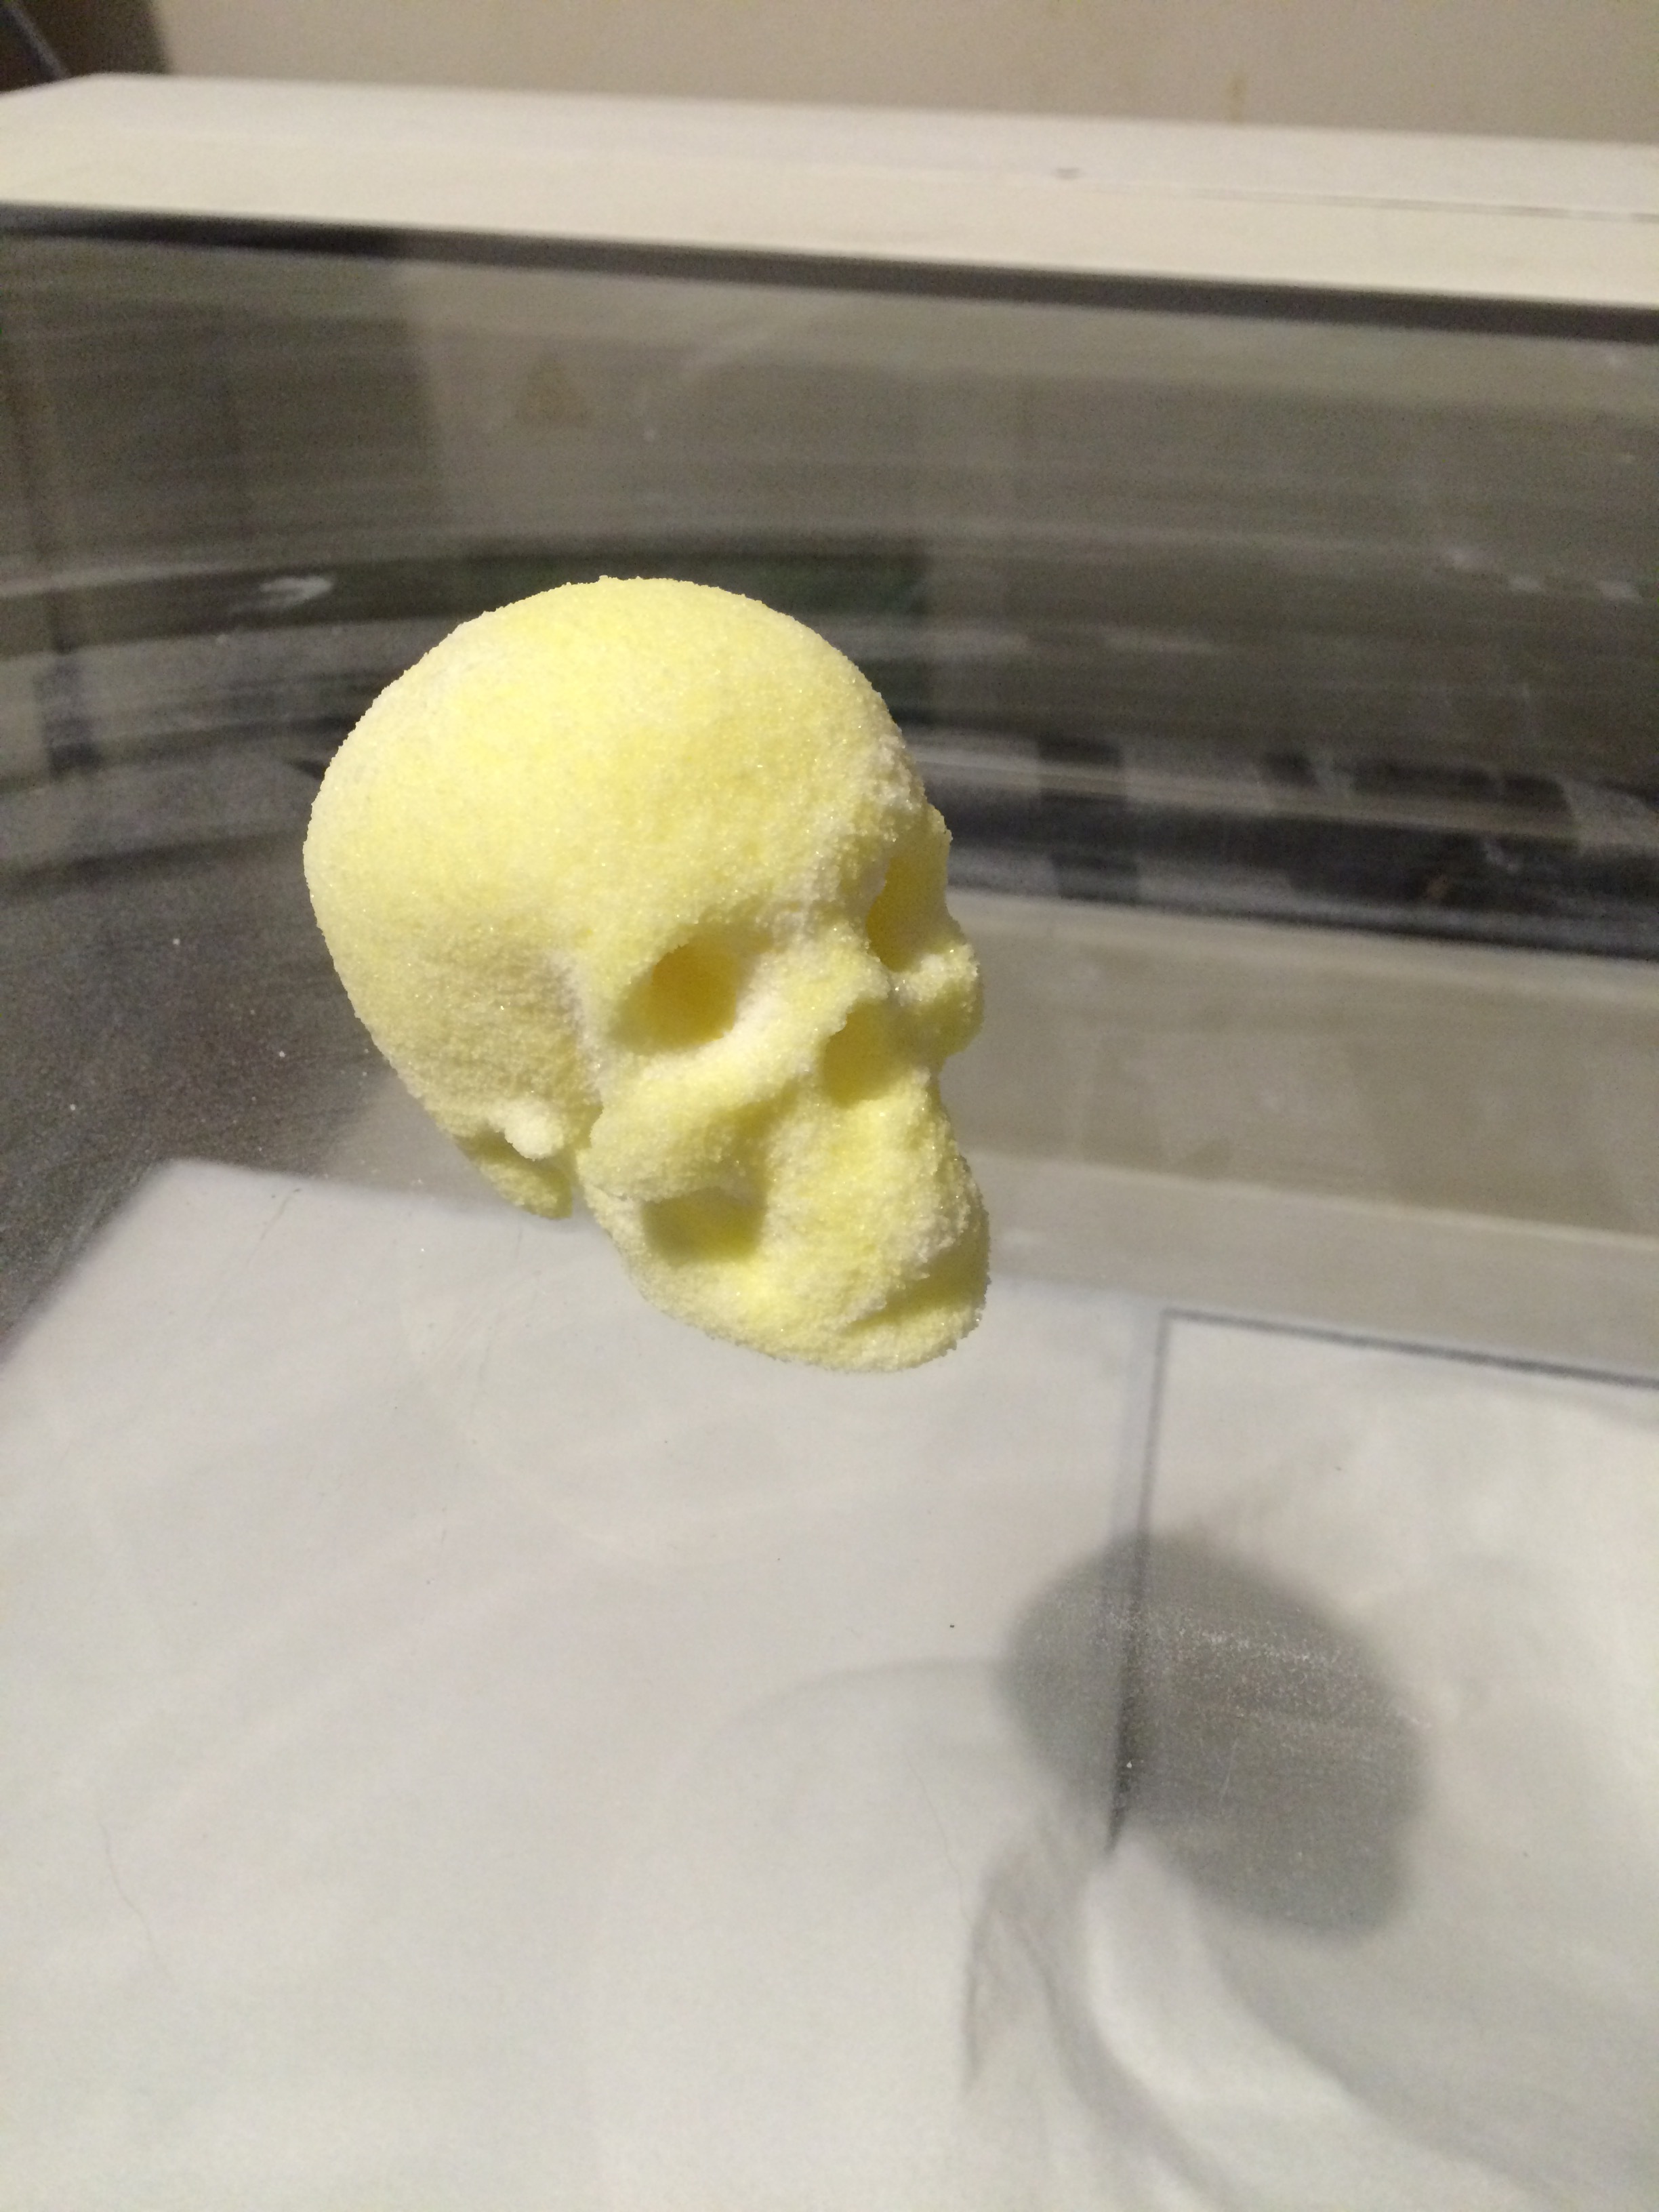
Printed sugar skull!
EZSpread Powder
This recipe spreads much more easily than the base powder, so you do not need to remove the scraper blade. However, the easily wetted powdered sugar requires that the saturation level of the derived powder must be lower to prevent bleed-through when spreading the new layer.
- Granulated sugar, 25lb
- Wilton's Meringue Powder, 8oz
- Diamond 10-X Powdered Sugar, 64oz (super fine sugar powder + corn starch)
Mix together, then pulse in a food processors (about 1lb at a time, or however much your food processor will hold) for approx 120 seconds total, until the powder is at a fine grain consistency.
- Derive a new powder in ZPrint from the ZP-15E base powder
- Set saturation to 80% for shell and core.
- Print at 0.2mm per layer.
- Cure 'in bed' for at least 8 hours before removal.
- Shell will be hard enough to handle air depowdering and manual brushing
- Core material will still be soft.
- Part will continue to harden for 48 hours (depending on temp & humidity)
- Shell will be hardened in about 12 hours
- Core material fully hardened after 48 hours
Make sure to *thoroughly* clean the roller with a dry paper towel after each print.
I highly recommend adding a dye to your binder (food coloring works well) so that it easier to determine where the surface boundaries are when depowdering.
-
Two bags of 10-X powdered sugar are added to the base mix.
-
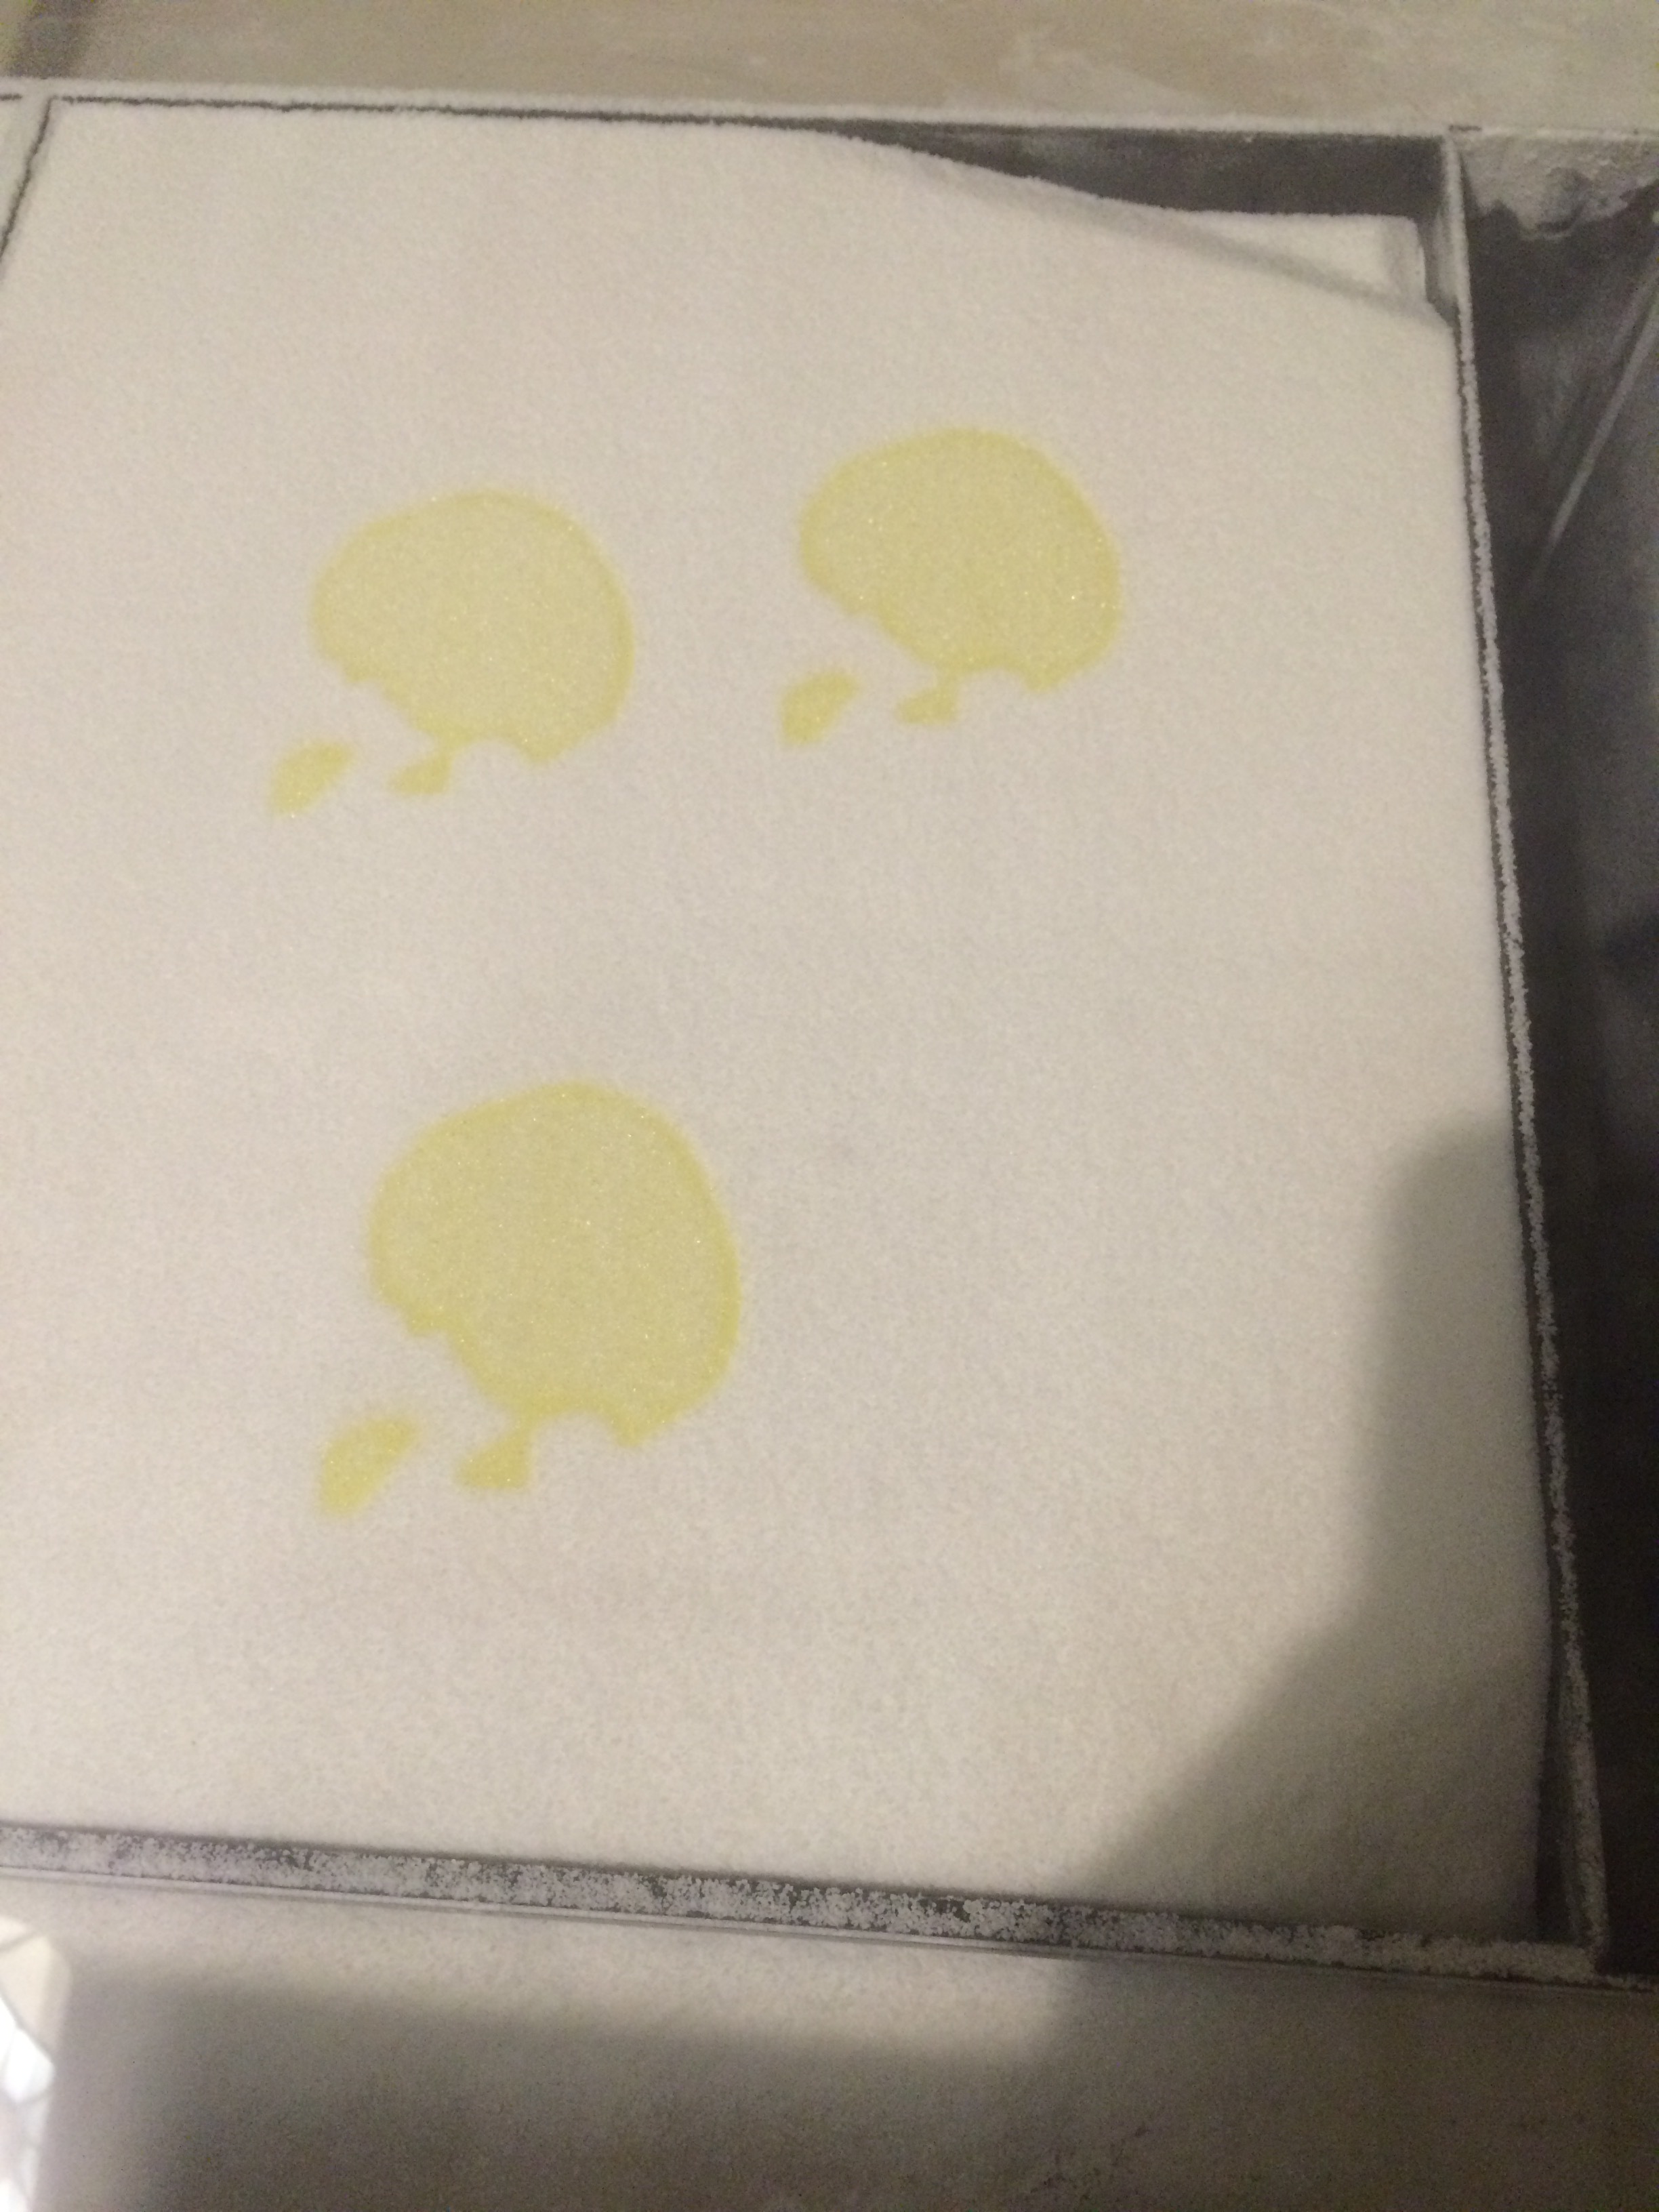
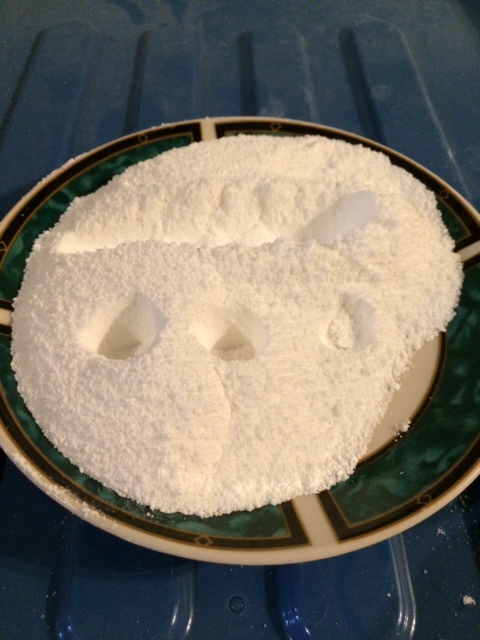
Consistency test of the powder. Note that it holds its shape better than the base powder.
-
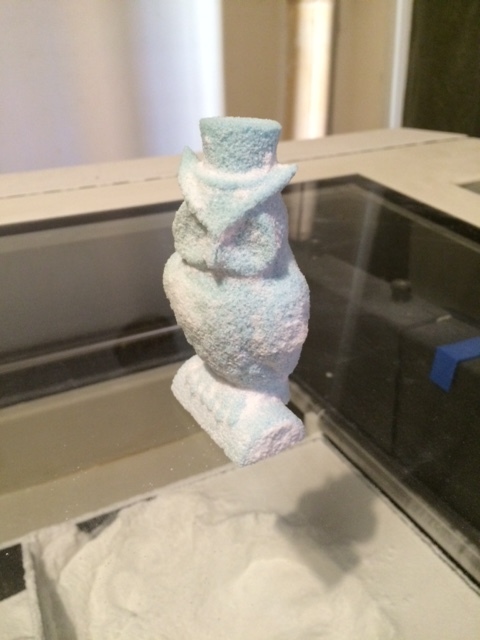
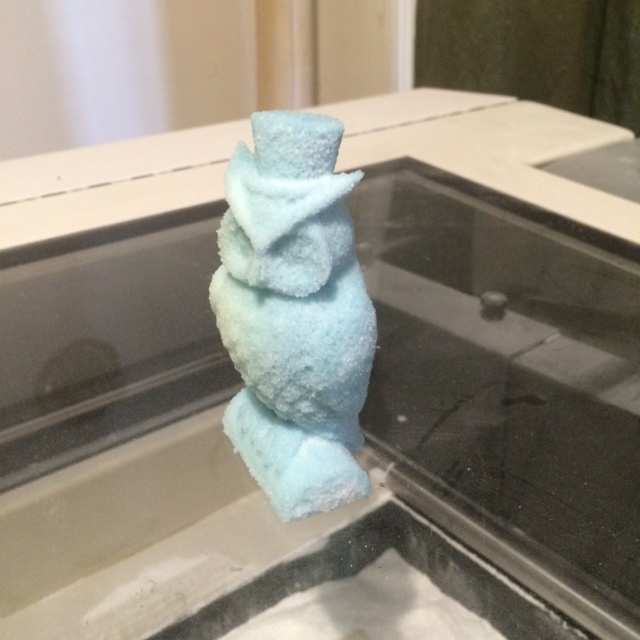
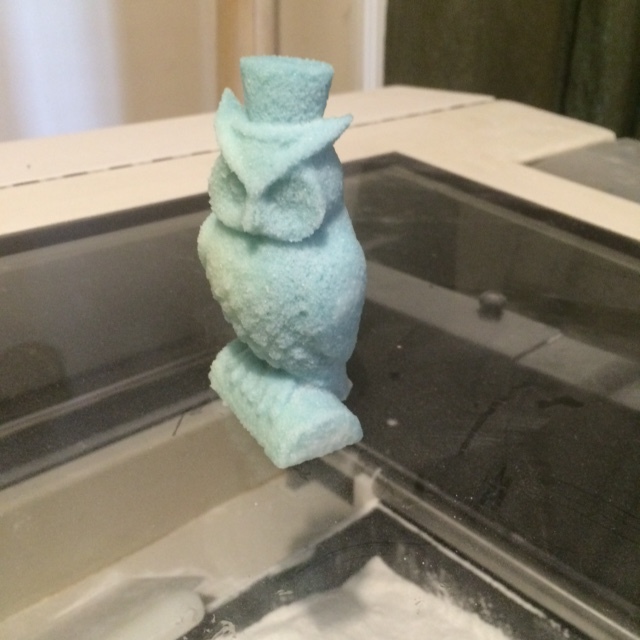
Owl print. Much better fine detail than the base powder.
-
EZSpread, handling a complex build plate.
Post Processing
After depowdering, lightly mist with distilled water, and dry in a 90C oven for one to two hours.
For permanent display, or lost wax casting, the sugar powder object can be infiltrated with paraffin wax.
-
Owl model, after light depowdering.
-
Sprayed with distilled water, and held in 90C oven for 1 hour.
-
Owl after infiltration with wax.
Maintenance
Front Panel Removal And Cleaning
Removing the front panel allows full access to the piston screw for lubrication, and removal of dust and debris from the debris catching tray under the pistons.
-
Locate and remove the 2 hex screws retaining the front panel.
-
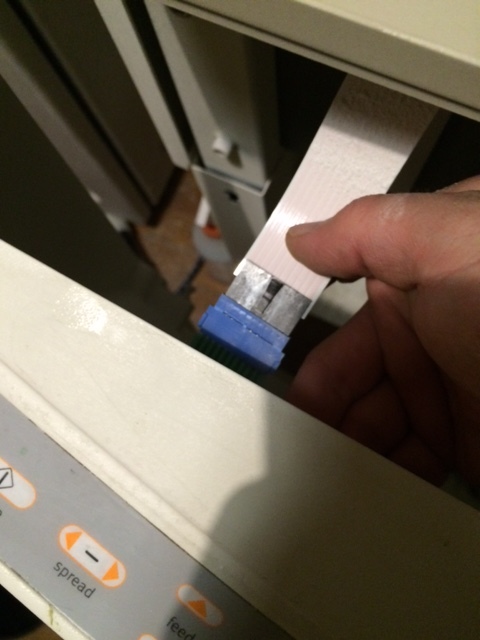
Lift the front panel approx 5cm, and pull away about 50cm. Unplug the LCD panel
-
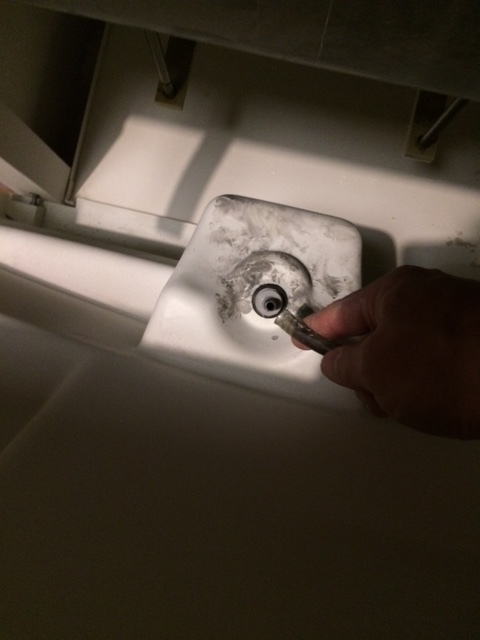
Pull off the waste bottle hose.
-
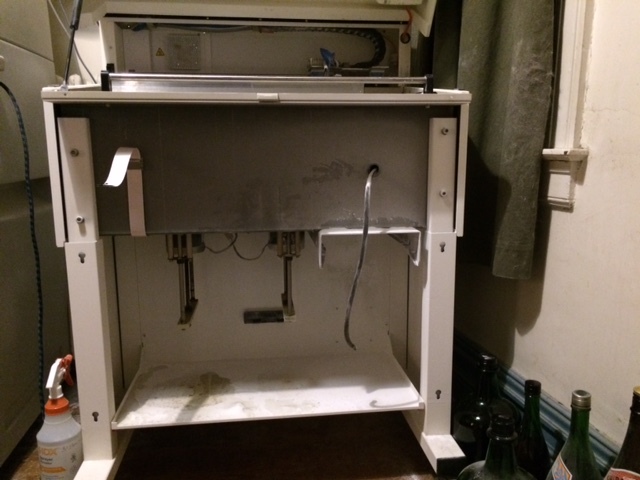
The front panel removed.
Low Binder Flow
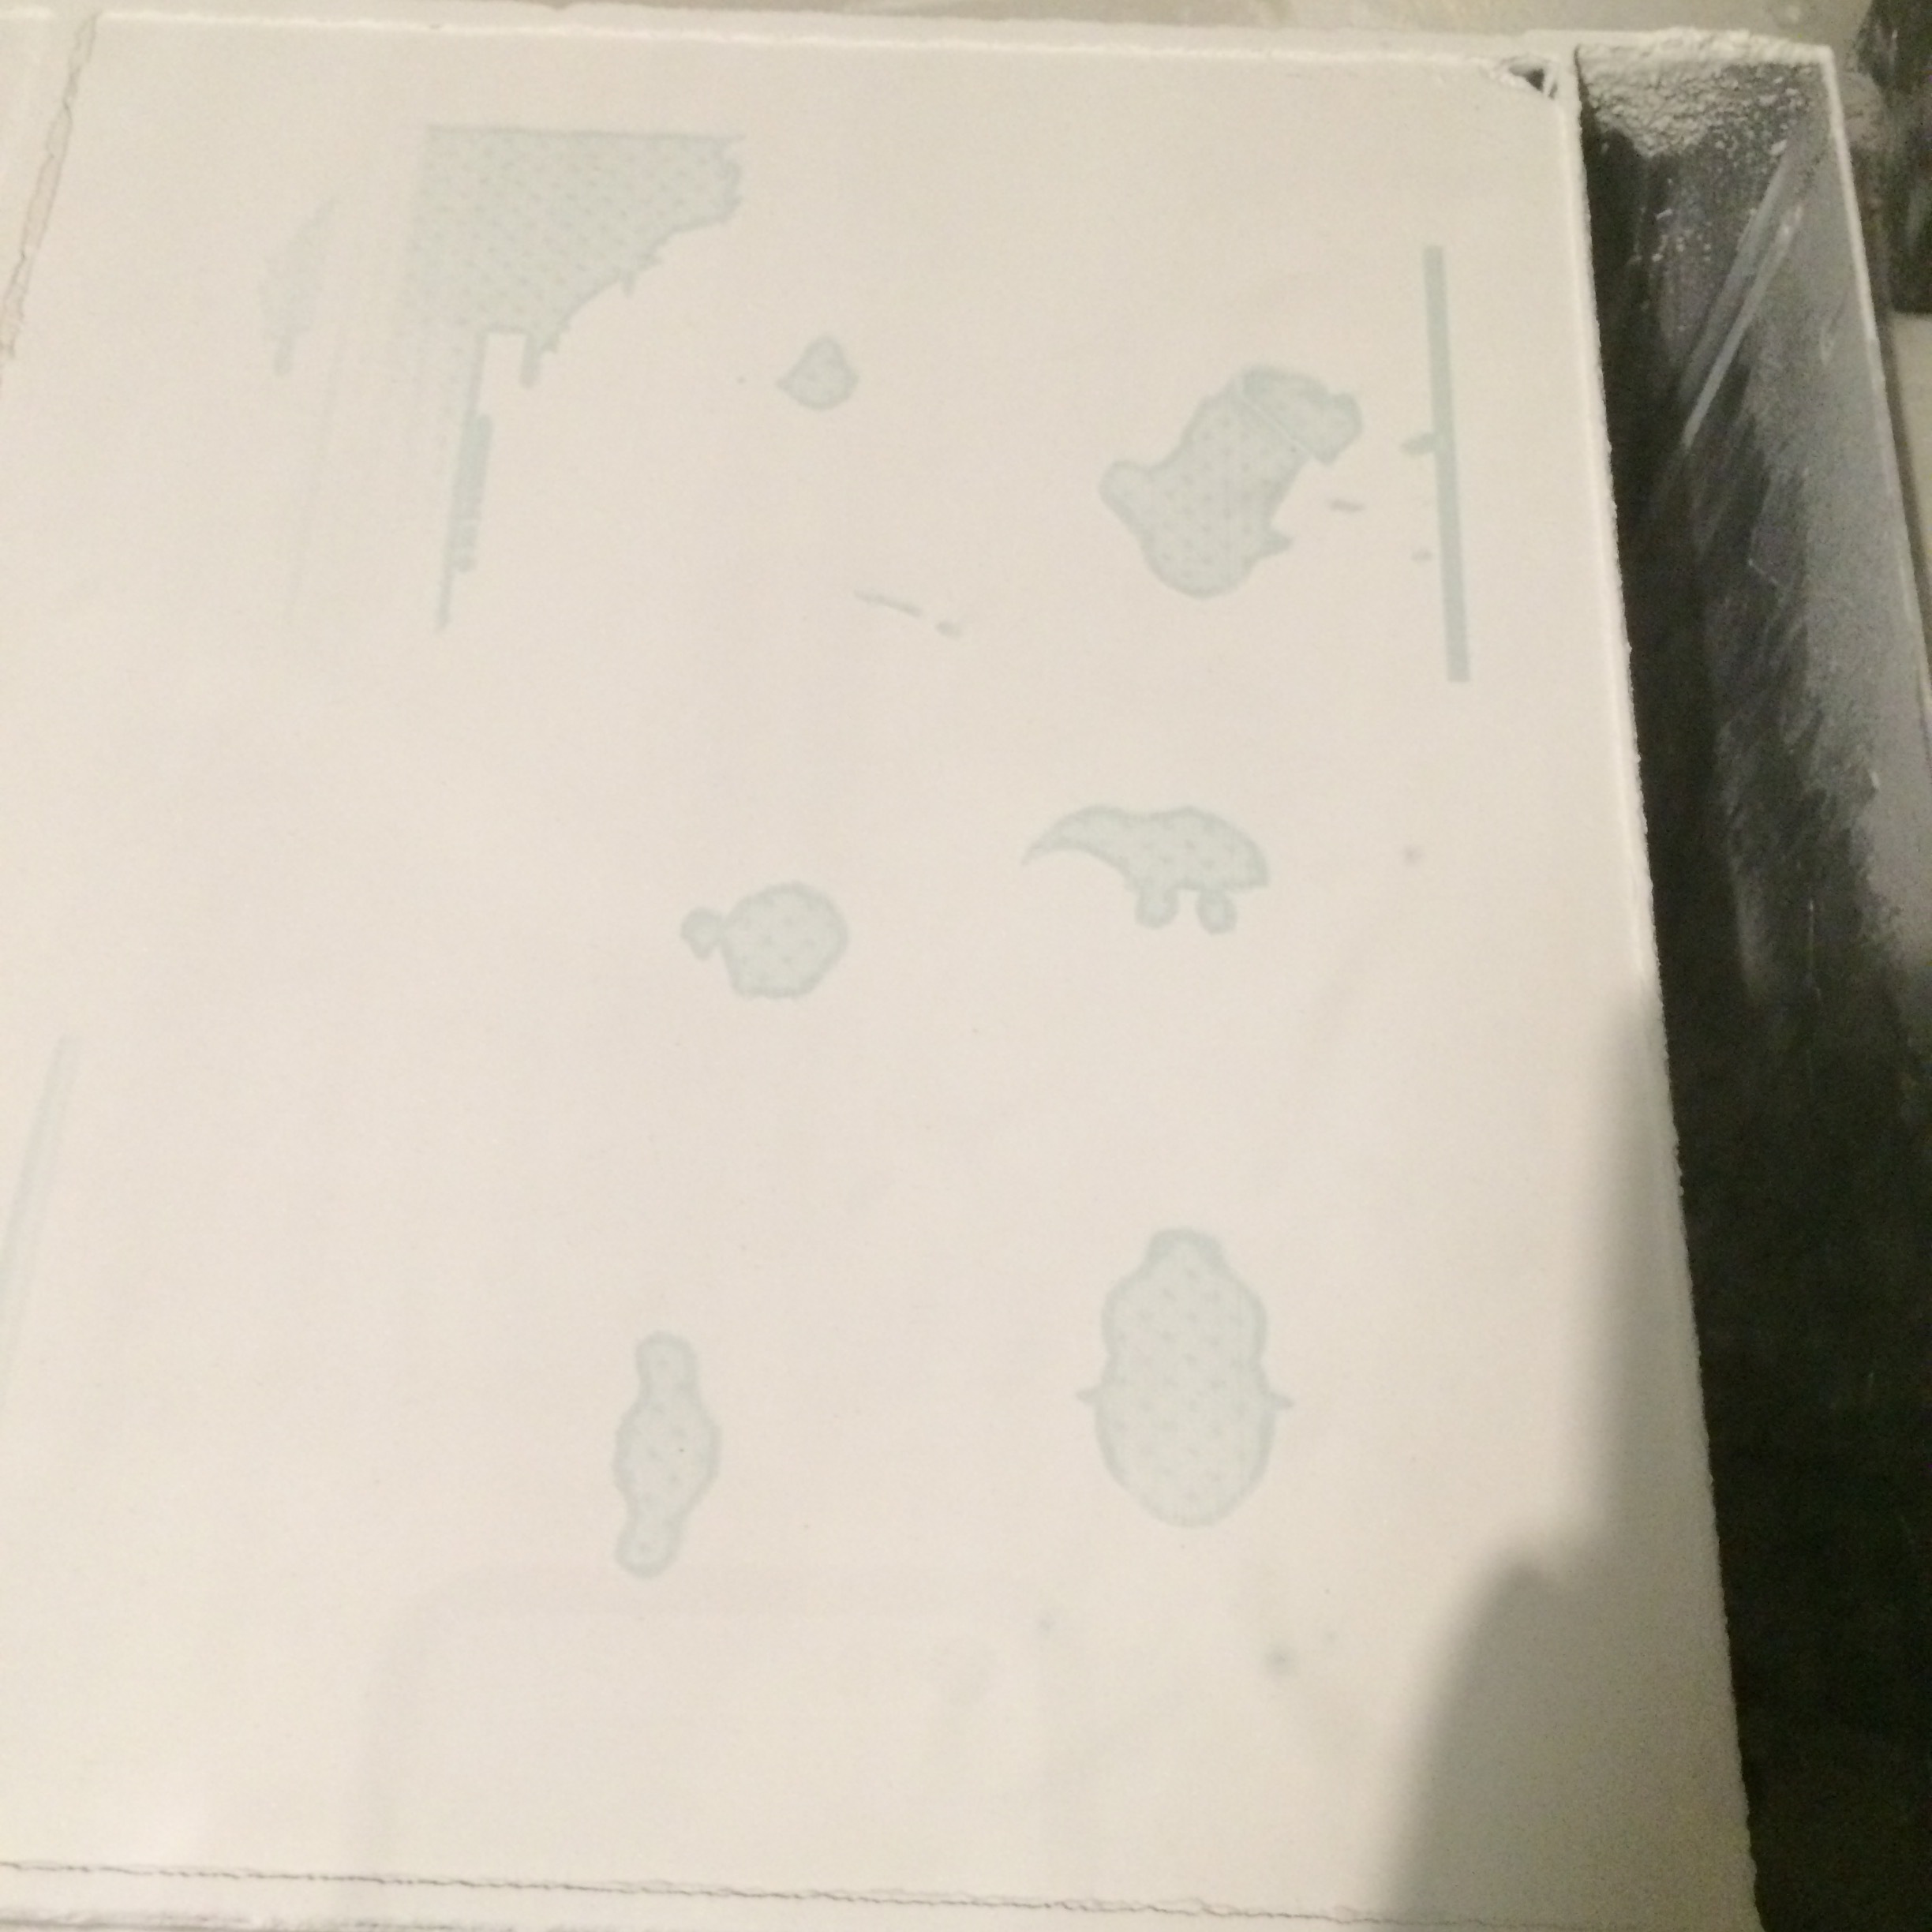
Low binder flow can be caused by many problems - follow this checklist to resolve them:
- If you can push binder via the binder flush kit, but pulling binder is difficult:
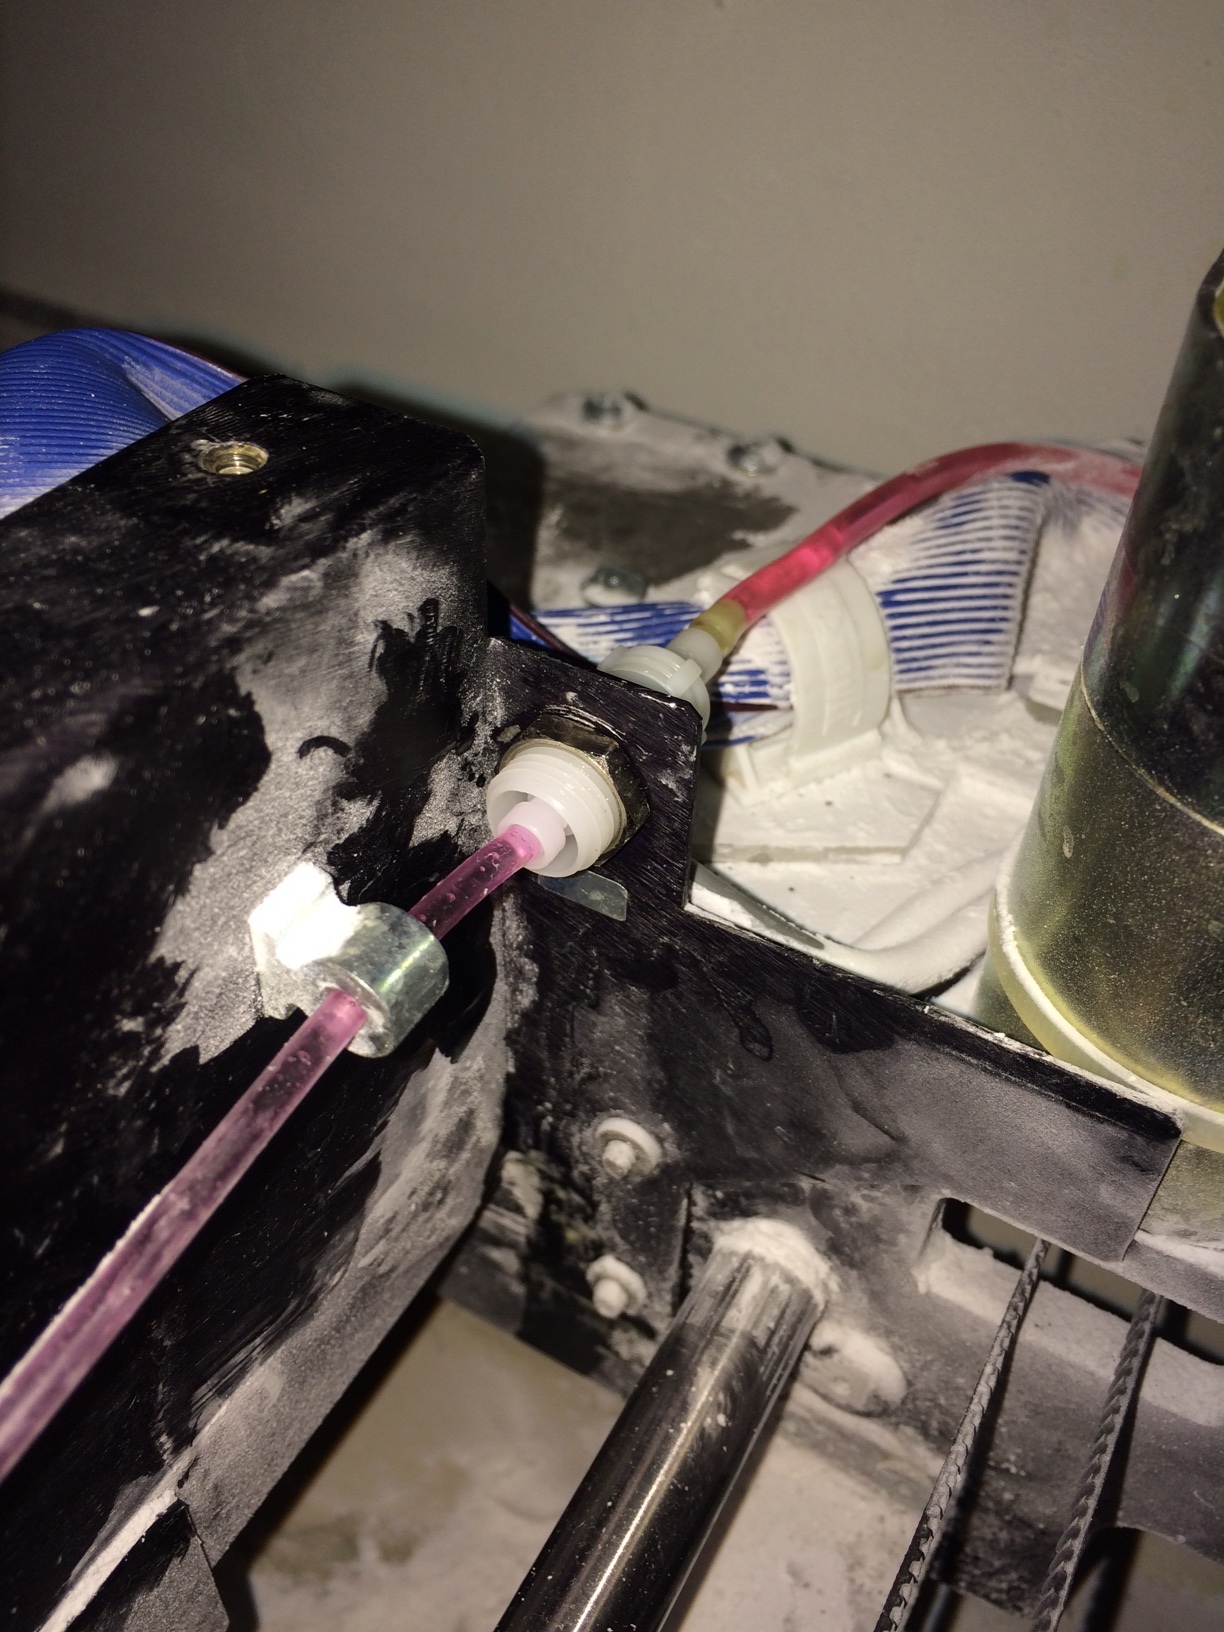
- Check/replace the quick-fit connector on the back of the fast axis.
- Check/replace the quick-fit connector to the binder tank
- Check/replace the filter unit behind the binder tank
- If pushing/pulling binder is equally difficult:
- Remove the printhead
- Use the purge kit to flush the binder lines with a 5% household bleach to 95% distilled water solution.
- Leave the solution in for at least 12 hours
- Use the purge kit to flush the binder lines with 200ml of distilled water
- Use the purge kit to load the binder lines with clean binder
-
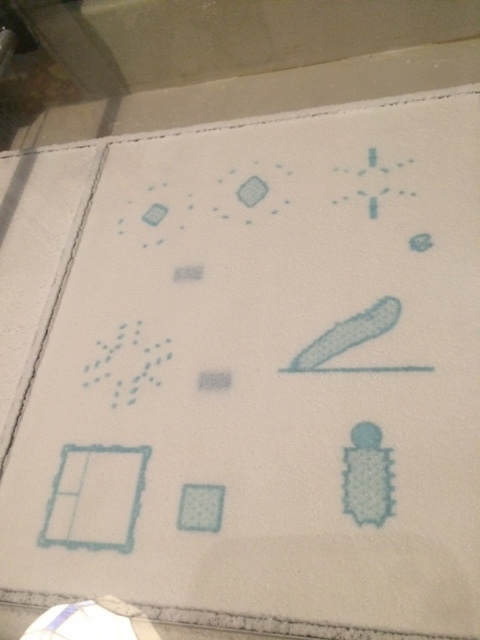
Low flow issue, notice the partial print in the upper left corner.
-
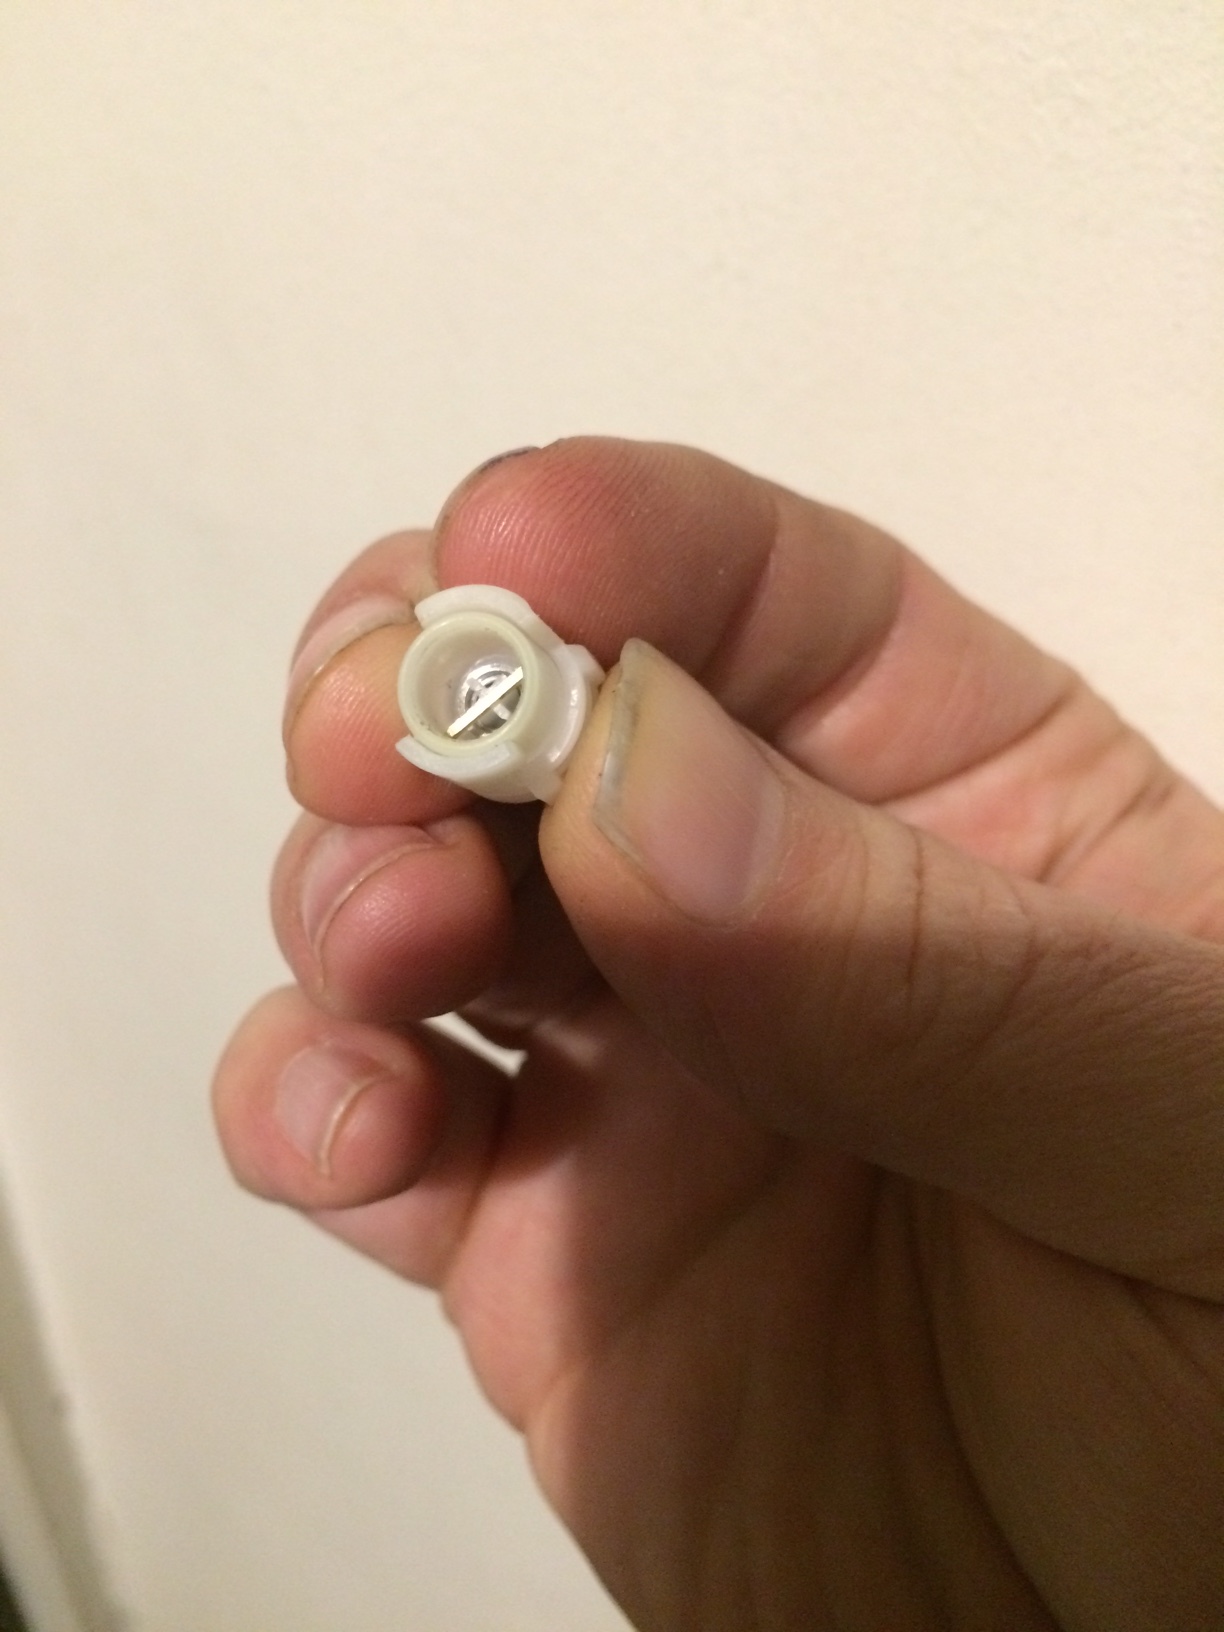
Location of binder 'quick-fit' connector that had worn.
-
Shim installed in connector, to resolve flow issue.
Printhead Commissioning Procedure
I have noticed on dead printheads that the mesh filter in front of the inkjets were clogged with black ink particles. They appear to have precipitated from the black ink when my sake binder mixed with old ink still in the cartridges.
I have developed the following procedure to flush a 'new' printhead with a dye based ink, to clear out the black pigment, before using my sake binder. This eliminates the flocking issue.
- Press 'N' on the console to begin the procedure
- Remove the old printhead
- Empty the binder tank into a spare clean container, and reinstall
- Load the binder flushing kit syringe with 30ml of yellow dye based HP10 bulk ink
- Install the binder flushing kit into the septum.
- Push the 25ml of dye into the septum
- Remove the binder flushing kit
- Empty any ink in the binder tank, rinse with distilled water, fill with binder, and reinstall
- Install a new HP10 printhead
- Press the 'online' button
- Print a 100mm cube to flush the printhead with the dye-based ink, and transition to sake binder
Infiltration/Finishing Techniques
Wax Infiltration
Wax infiltration uses paraffin or beeswax to fully infiltrate the part, adding strength and moisture resistance.
Advantages
- Part is waterpoof
- Preserves fine details
Drawbacks
- Low finished part strength (but higher than 'green' strength)
- Part must be painted before wax is applied
- Painted parts will have matte, waxy finish
Procedure
- Cure green part at 90C for 4 hours.
- Paint part with watercolors.
- Cure painted part at 90C for 2 hours.
- Put part on a wax paper covered plate, next to a small block of paraffin or beeswax
- Put part in 90C oven for 2 hours, or until wax is wicked into part
- If the part is not fully infiltrated, add more wax and continue to heat at 90C.
- Remove part while still warm, and place on mesh grid to allow any remaining wax to drip off.
-
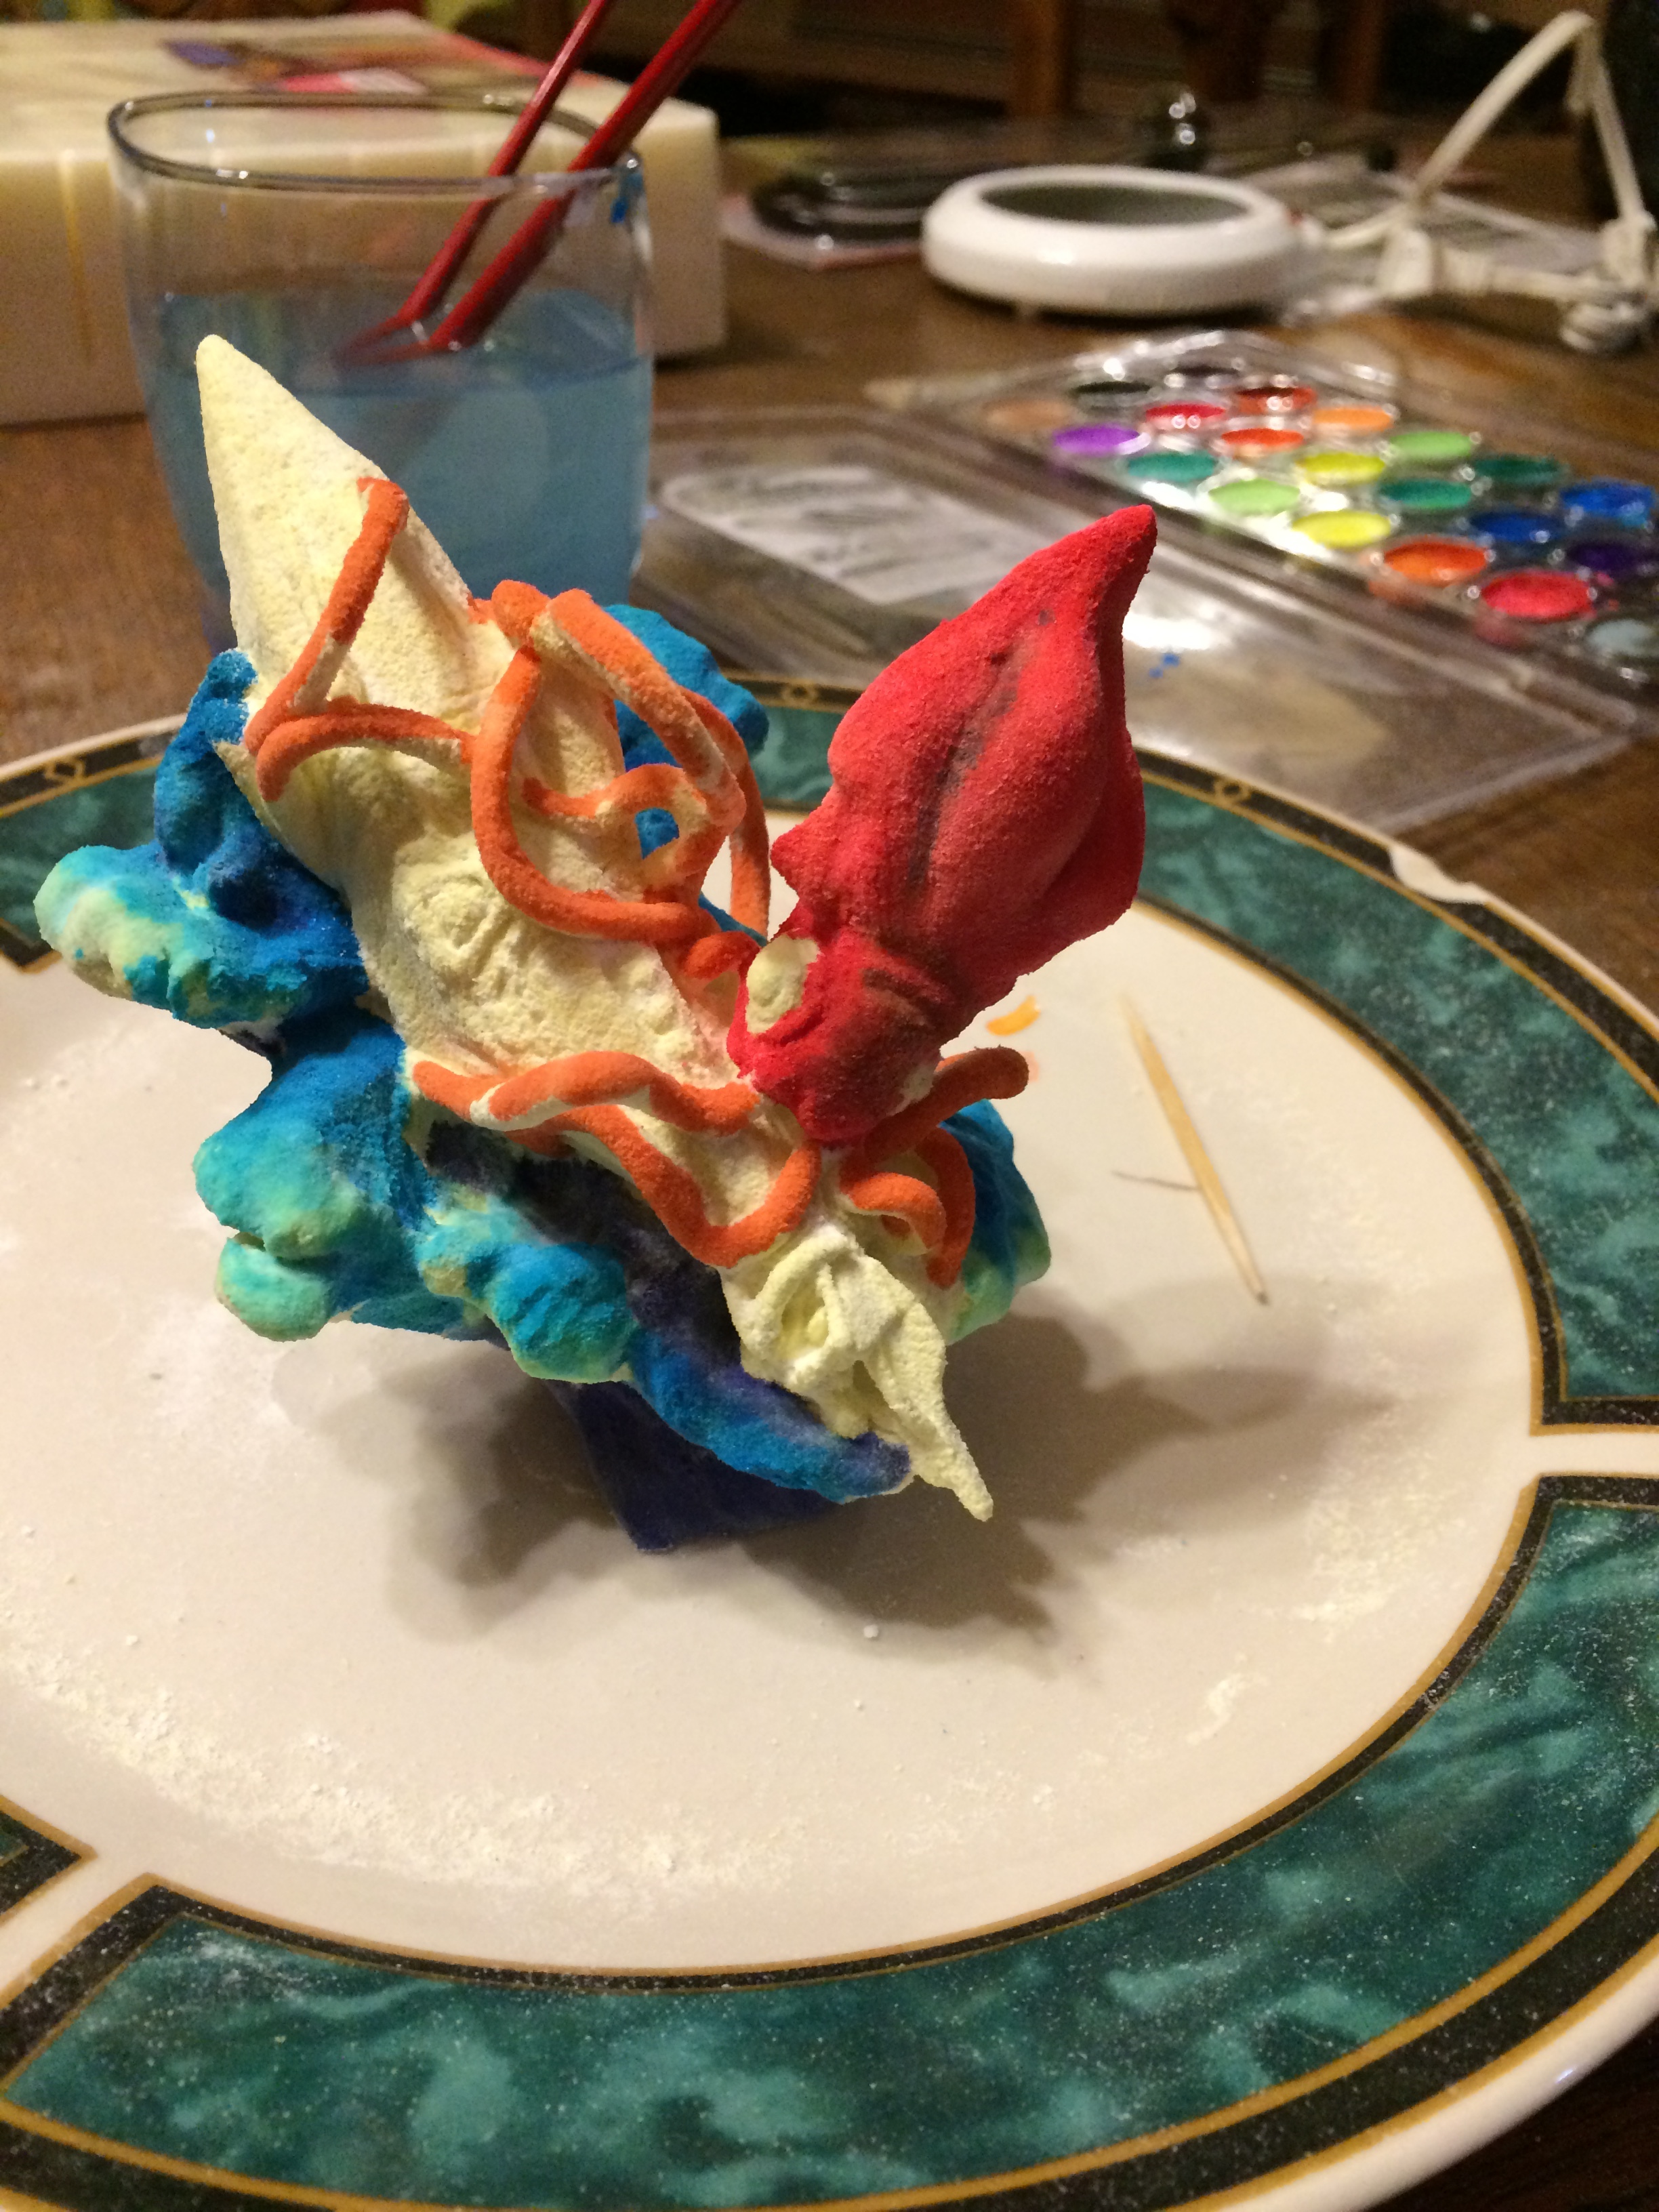
Using water paints to color the model.
-
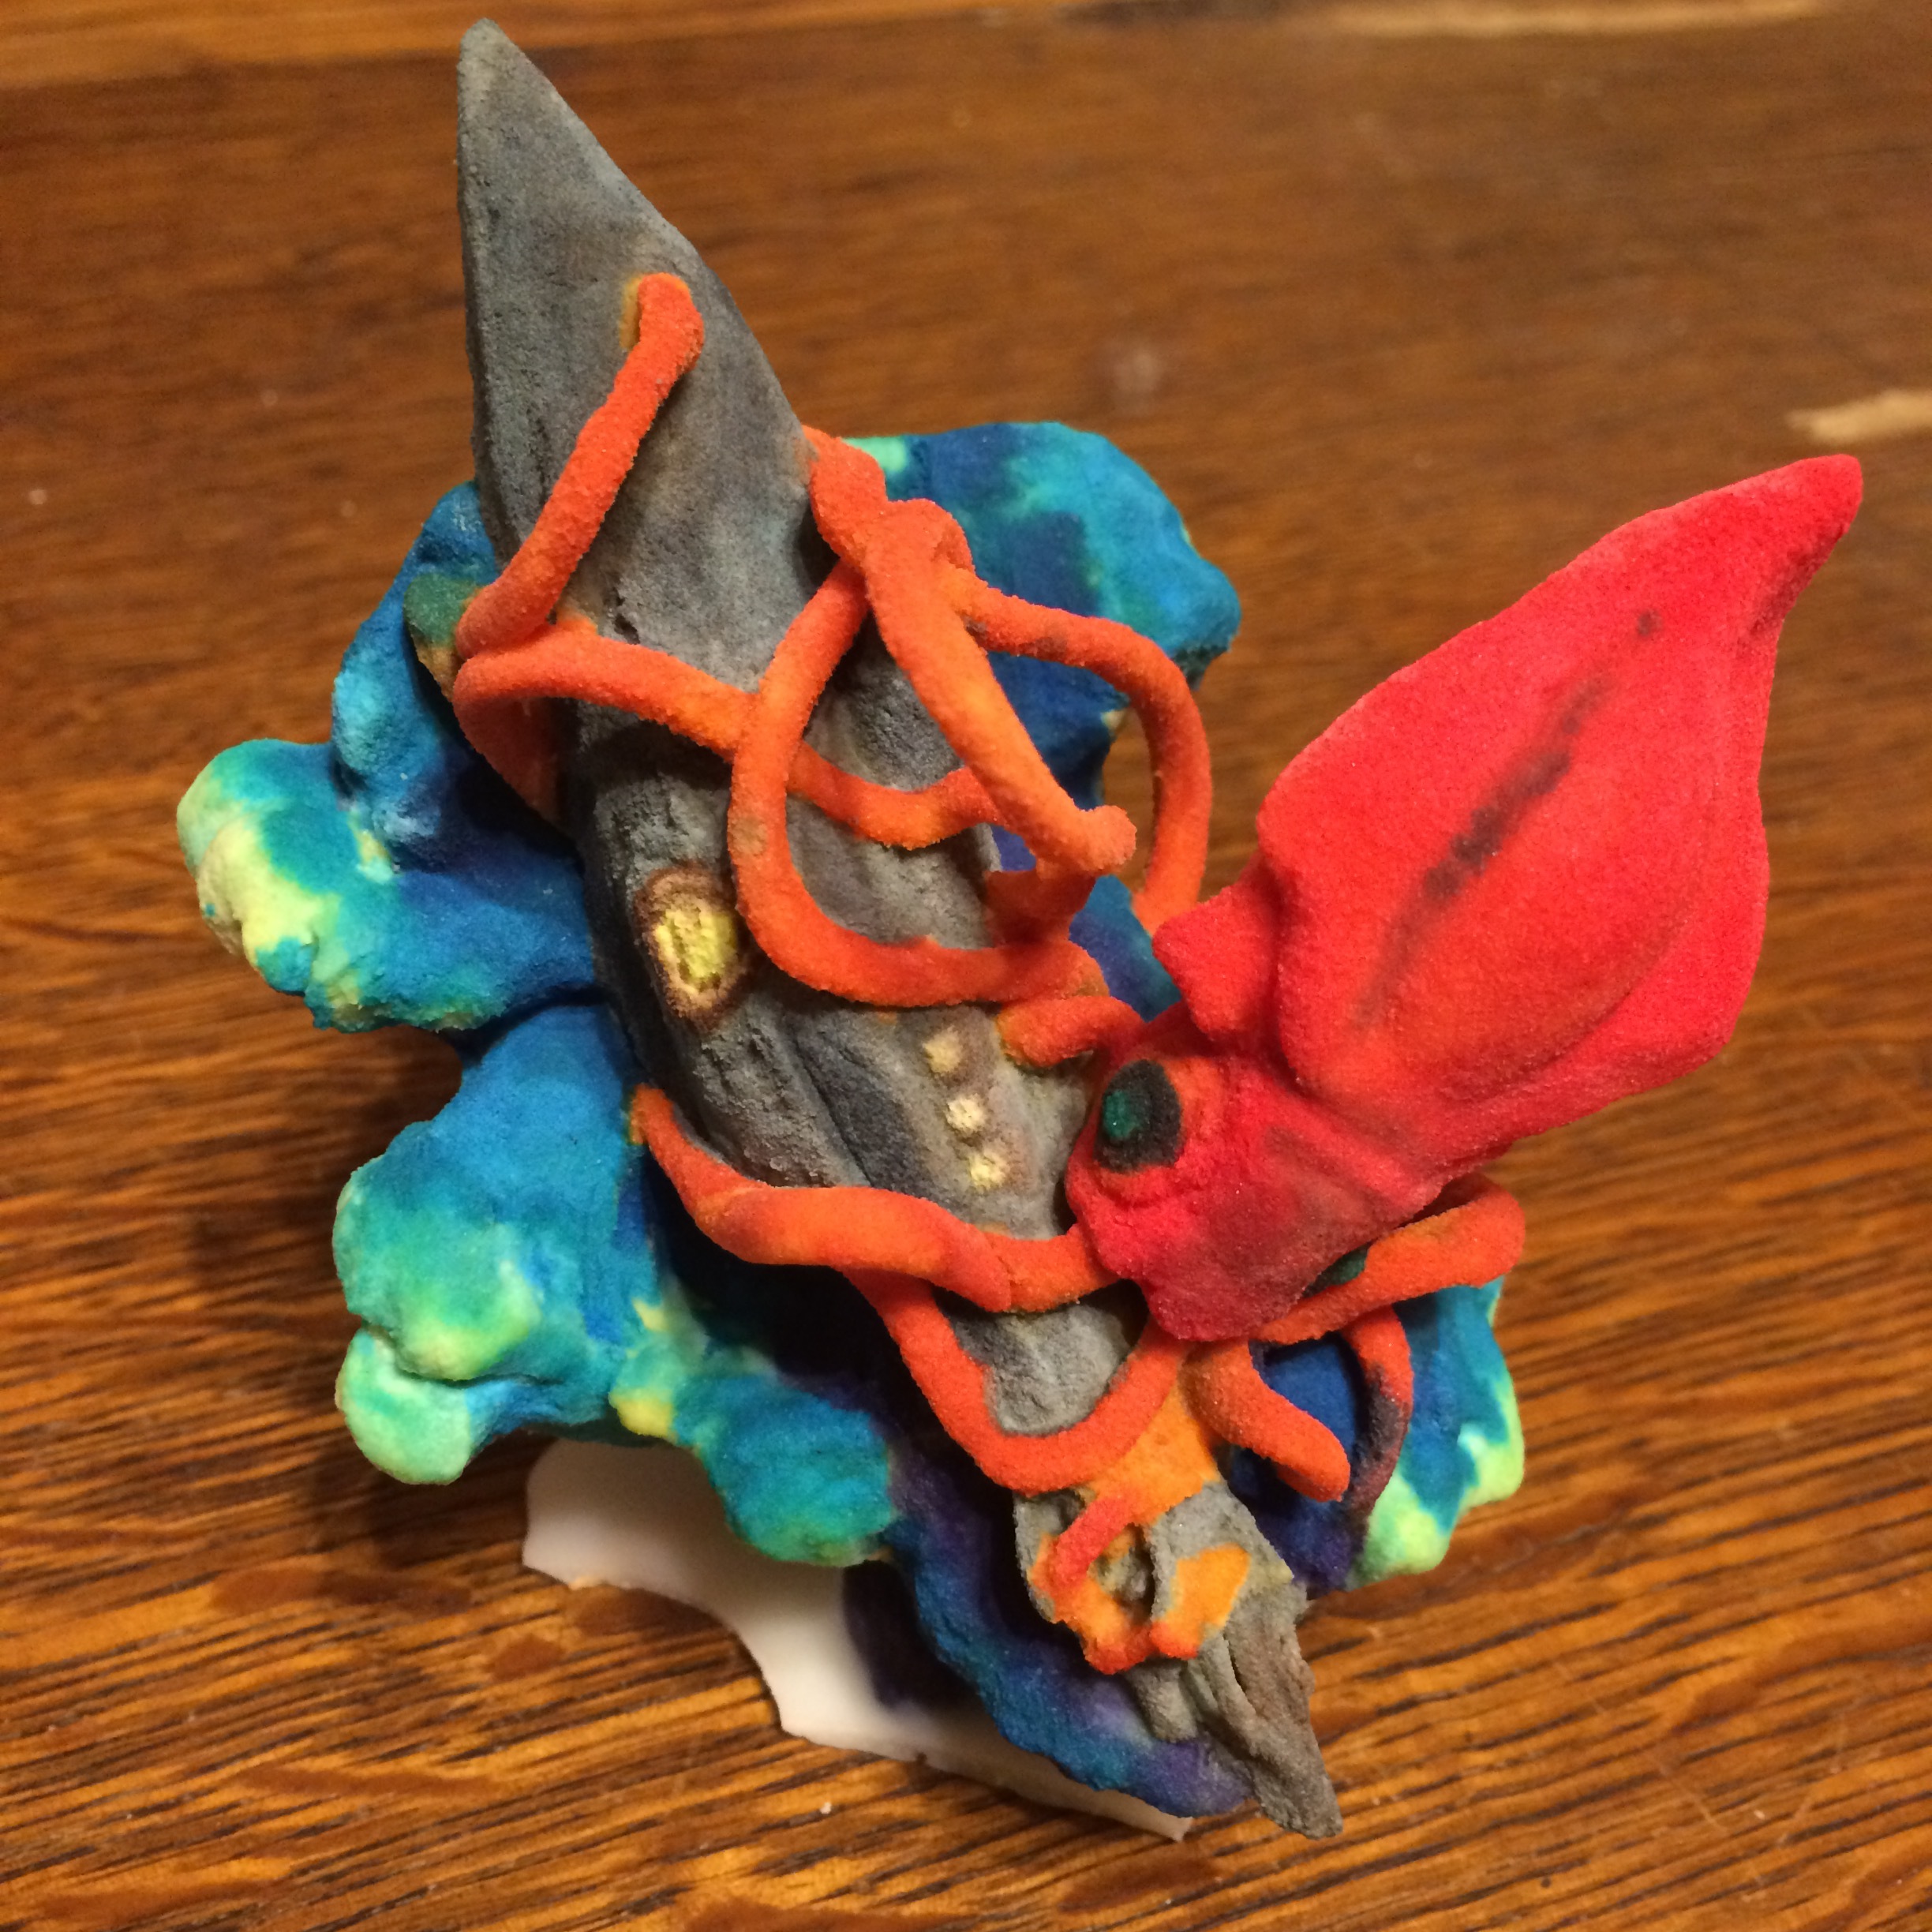
Finished model after waxing.
Hydraulic Curing
This technique leads to a very high part strength, and the resulting part is waterproof and paintable.
Advantages
- Finished part has a high strength
- Part becomes waterproof
- Part is paintable with acrylics, watercolors, and most other paints
Disadvantages
- Parts with fine details and complex geometries cannot be cured with this method.
- Can leave parts with a high surface roughness
Procedure
- Cover bottom of container with clean, superfine sand
- Put green part in container.
- Part must have any concavities pointed upwards, to be able to receive sand.
- Sift sand over part until completely covered.
- Tap container until sand is fully packed around part.
- Fill container with water, slowly.
- As you fill the container, ensure that there is a 'dry' patch on the surface to allow trapped air to escape, until the container is full.
- Once filling begins, do _not_ move nor shake the container.
- Let container sit for 1 to 2 hours, undisturbed.
- Pour off excess water, and invert container
- Rinse sand off of the part
- Place part in a container of fresh water + 5% distilled vinegar to release surface sand
- Let sit for 2 hours
- Remove part, and brush off any remaining surface sand
- Let part air-dry for 24 hours
- Optional: air-dry for 2 hours, followed by drying in a 70C oven for 4 hours.
